This post contains affiliate links. As an Amazon Associate I earn from qualifying purchases.
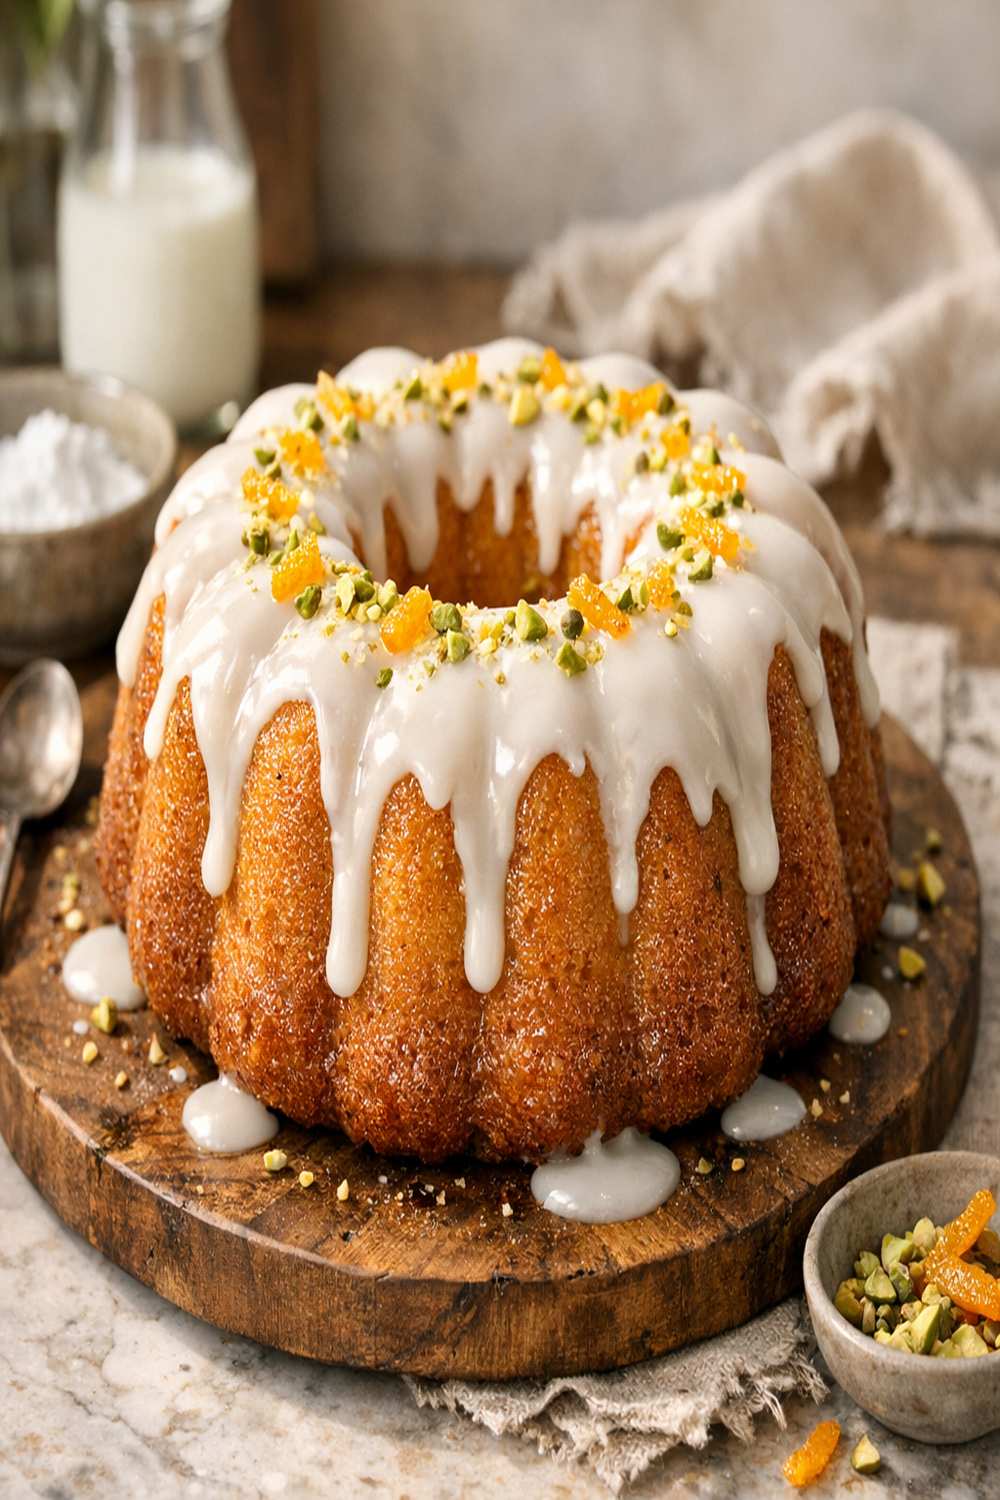
Learning to make a beautiful, glossy glaze isn’t just about topping a cake—it’s about mastering one of the most forgiving emulsification techniques in the kitchen. I still remember the moment my grandmother showed me how a few whisks of the wrist could turn powdered sugar and butter into liquid silk. That single skill unlocked dozens of desserts for me, from delicate tea cakes to celebration-worthy layer cakes. Once you understand how glaze works, you’ll never be intimidated by finishing a cake again. And the best part? This technique teaches you principles you’ll use in everything from drizzles to glazed vegetables.
Master the Technique Behind Simple Cake Glaze (And Never Struggle With Cake Toppings Again)
I was about sixteen when my grandmother let me frost a cake for a church potluck—unsupervised. I’d watched her do it a hundred times, but when she stepped away, I panicked. What if it broke? What if it was too thick? What if it slid right off the sides? She came back ten minutes later to find me standing there, spatula in hand, completely frozen. She laughed—really laughed—then sat down and taught me something I still teach busy clients today: glaze doesn’t have to be perfect because it’s forgiving by nature. The science is on your side.
That afternoon changed everything about how I approached baking. I realized I’d been overthinking it. Glaze is one of the most flexible techniques you can master because it teaches you about balance, patience, and trusting the process.
The Core Technique Explained
At its heart, making glaze is about learning to emulsify—that is, combining two ingredients (fat and liquid) that naturally want to stay separate, and coaxing them into a smooth, unified mixture. Think of it like making a tiny, forgiving version of mayonnaise.
Here’s the science: butter contains fat, while milk is mostly water. These don’t naturally mix. But when you whisk them together with powdered sugar acting as an emulsifier and stabilizer, you create a stable suspension where tiny droplets of fat are evenly distributed throughout the liquid. The powdered sugar does double duty—it sweetens and helps hold everything together.
The vanilla adds depth and masks any buttery harshness. Temperature matters because cold ingredients whisk differently than room-temperature ones. The slower you incorporate the liquid, the more stable your emulsion becomes.
This is why I emphasize patience in every step: you’re not just mixing, you’re building a stable structure. Rush it, and the glaze becomes grainy or separates. Take your time, and it becomes silky, pourable, and forgiving.
What This Technique Unlocks
Once you master emulsified glaze, you’ll recognize this same principle across your entire kitchen. Here are just some of the desserts and dishes that rely on this exact technique:
- Royal Icing for Cookies – uses the same whisking method to create a stable, pourable coating
- Chocolate Ganache – teaches you how cream and chocolate emulsify into silk
- Cream Cheese Frosting – builds on the same fat-and-liquid balance principle
- Lemon Curd – extends the technique to include eggs and heat
- Salad Dressings and Vinaigrettes – demonstrates emulsification with oil and acid
- Caramel Sauce – teaches you how sugar, butter, and cream come together
The Ingredients—Chosen to Teach the Technique
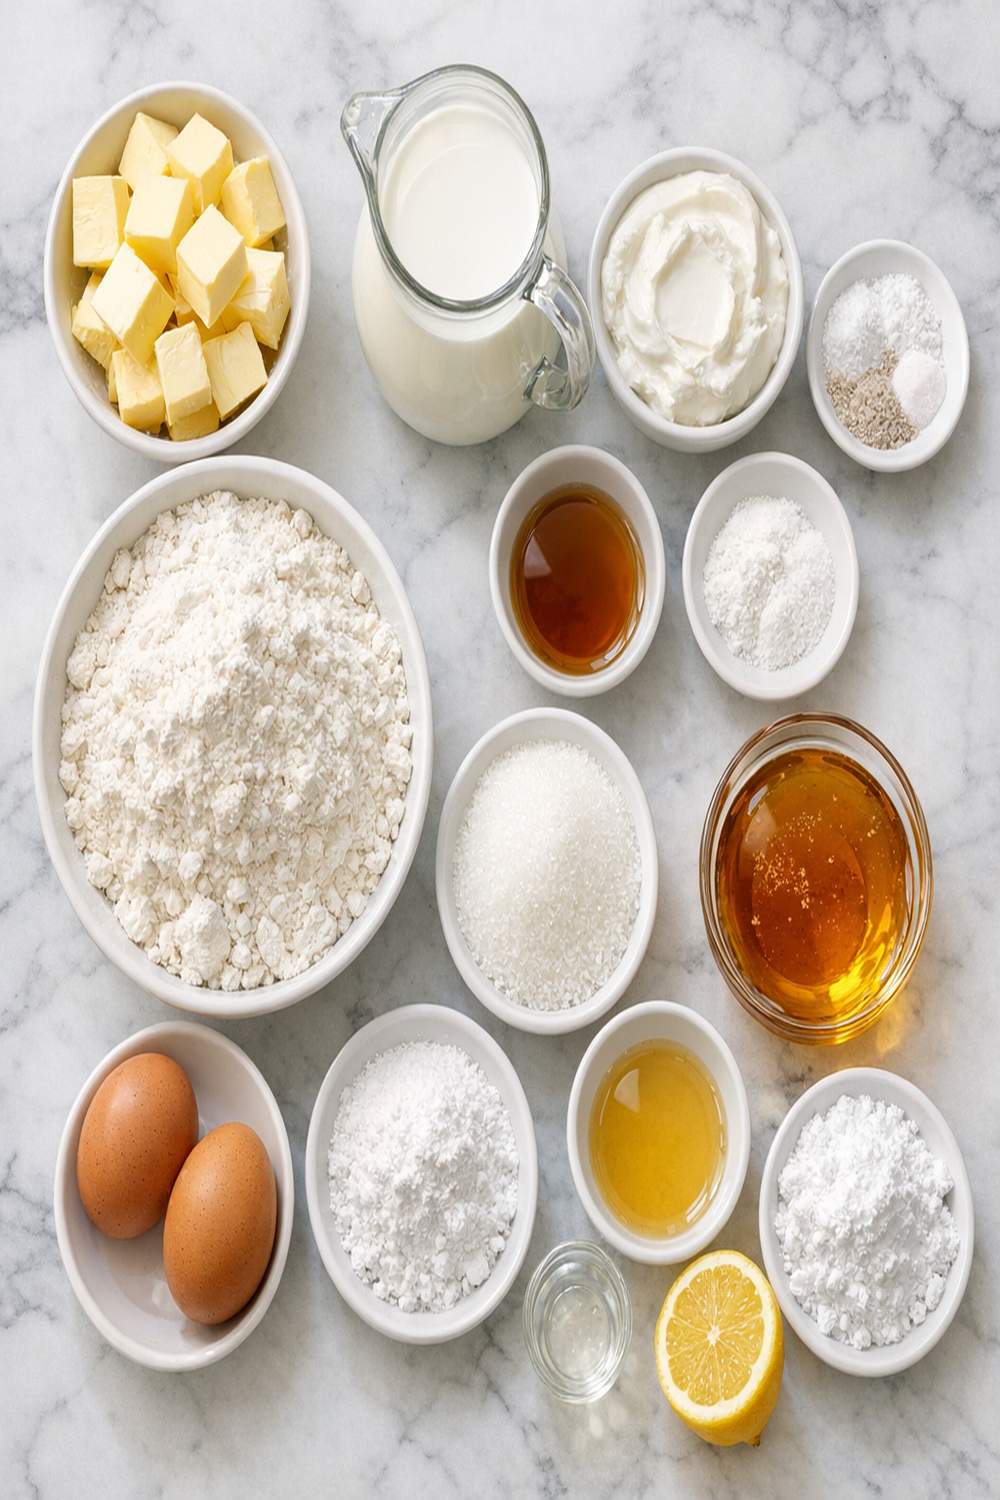
Every ingredient here was chosen to teach you something about how glazes work. I’ve selected items that highlight the emulsification process while remaining accessible and flexible for your kitchen.
- 1 to 2 tablespoons whole milk (full-fat milk has better emulsifying properties than skim)
- ¼ teaspoon vanilla extract (pure extract, not imitation, for depth and masking any sharp butter notes)
- 1 cup powdered sugar (sifted to remove lumps and create a smooth base for emulsification)
- pinch of fine sea salt (enhances sweetness and balances flavor if using unsalted butter)
- 2 tablespoons unsalted butter (melted and slightly cooled, because warm—not hot—butter emulsifies best)
Expert’s Nutritional Tip: This recipe teaches portion control naturally. A proper glaze uses less fat than traditional frosting because the emulsification technique stretches the butter further—you get more coverage with fewer calories. One tablespoon of this glaze adds roughly 50 calories to a slice, compared to 100+ for traditional buttercream.
Why These Amounts Matter: The 1:1 ratio of butter to milk (roughly) creates the ideal balance for emulsification. Too much butter, and it breaks. Too much milk, and it becomes too thin. This ratio teaches you the principle you can apply when scaling up or adapting.
The Masterclass: How to Make Simple Cake Glaze
This is where the magic happens. I’m going to walk you through each step not just as instructions, but as a lesson in understanding what’s happening in your bowl. Pay attention to the details—they’re teaching you.
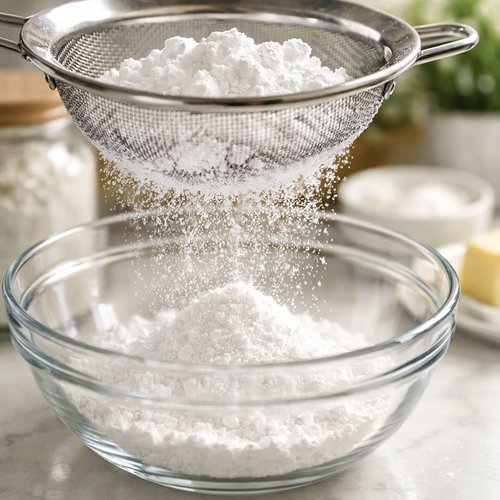
Step 1: Sift Your Powdered Sugar Into a Medium Bowl
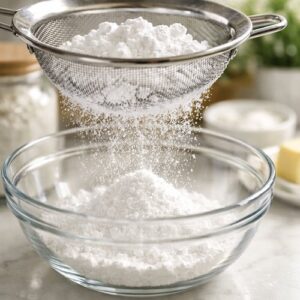
This first step teaches you about ingredient preparation as foundation. Lumpy powdered sugar will create a lumpy glaze, no matter how well you whisk. Sifting removes those lumps and aerates the sugar slightly, which actually helps it incorporate more smoothly with the other ingredients.
Use a fine-mesh sieve and press gently with the back of a spoon. Don’t be tempted to skip this—it takes thirty seconds and prevents frustration later. This is how I teach busy clients to build reliability: the small prep steps prevent big problems.
Step 2: Add Your Melted Butter and Begin Whisking
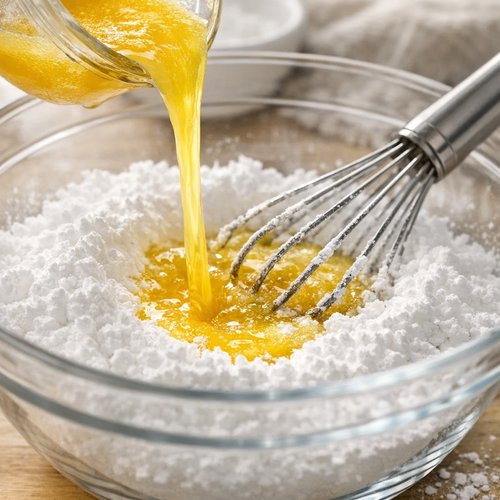
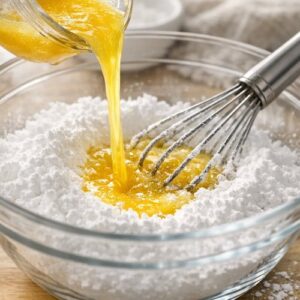
Now you’re starting the emulsification process. Pour your slightly cooled melted butter directly into the powdered sugar. This is important: the butter should be warm enough to incorporate smoothly, but not so hot it causes the sugar to crystallize. If it’s piping hot, let it cool for a minute.
Using a wire whisk (not a fork—the wires distribute ingredients more evenly), begin whisking vigorously for about 30 seconds. You’ll notice the mixture starts looking grainy and thick, almost like wet sand. This is exactly what should happen. Keep whisking.
What you’re doing is distributing tiny droplets of butter evenly throughout the sugar. This distribution is what eventually allows the milk to incorporate without breaking the emulsion.
Step 3: Add 1 Tablespoon of Milk and Whisk Until Completely Smooth
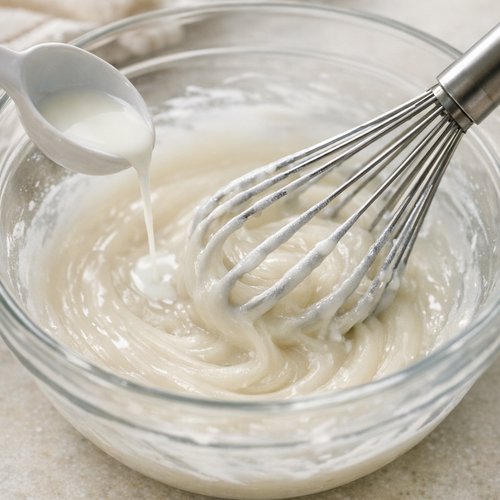
This is the critical moment that teaches you about patience in emulsification. Pour in just one tablespoon of milk and whisk steadily for about 45 seconds to a minute. Don’t rush this part. I know it’s tempting to add more milk to speed things up, but this is where the technique solidifies.
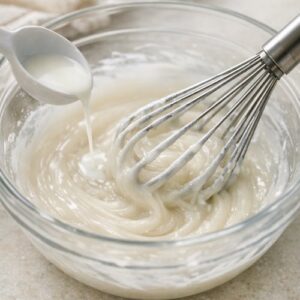
As you whisk, the mixture will transform from grainy to creamy to completely smooth. You should see the glaze become lighter in color and glossy. The milk is being incorporated evenly, surrounded by those tiny butter droplets we distributed earlier. This stable structure is what keeps your glaze from breaking.
This step teaches you to recognize when an emulsion is properly formed—it should be smooth, uniform in color, and have a slight sheen.
Step 4: Add Your Vanilla and Evaluate Consistency
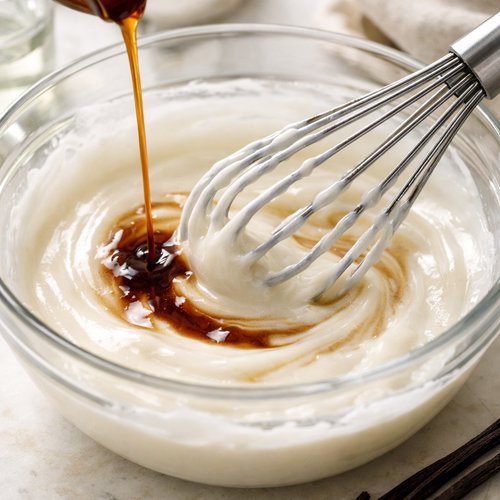
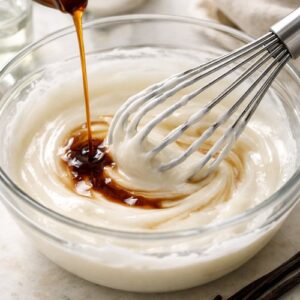
Add the vanilla extract and whisk for another 15 seconds. The vanilla doesn’t change the texture, but it deepens the flavor and masks any sharpness from the butter. If you’re using salted butter, you can skip the salt pinch. If using unsalted, now’s the time to add that pinch and whisk it in.
Now comes the skill-building moment: testing your glaze for the perfect consistency. Take a spoon, dip it into the glaze, and drizzle it back into the bowl. Watch what happens. The glaze should fall in a steady stream and blend back into the main mixture after about three to five seconds, leaving a slight ribbon trail.
This visual test teaches you to trust your senses instead of relying on exact measurements—because every kitchen is different. Humidity, ingredient brands, even altitude can affect how quickly milk incorporates.
Step 5: Adjust Thickness (The Most Important Technique Skill)
If your glaze is too thick and doesn’t ribbon properly, add another half tablespoon of milk and whisk for 30 seconds. Test again. Repeat if necessary. This teaches you the principle of gradual adjustment—it’s always easier to thin out than to thicken back up.
If your glaze somehow became too thin (which is rare), whisk in one tablespoon of powdered sugar at a time until you reach that perfect consistency. The key is whisking thoroughly after each addition—those 30-second intervals give the sugar time to fully incorporate and for you to evaluate the actual texture, not just what you think it should be.
This step teaches professionals and home cooks alike to taste and adjust as they go. It’s the foundation of reliable cooking.
Step 6: Pour Over Your Cooled Cake
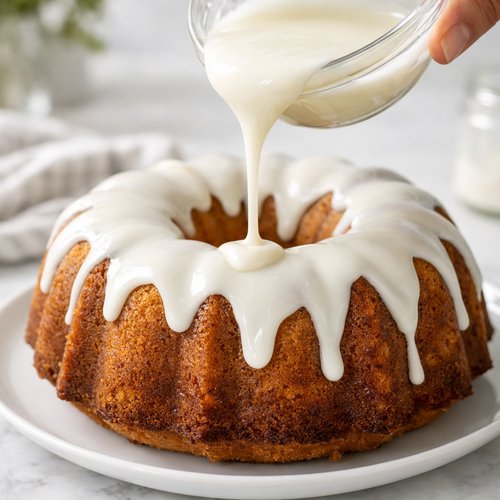
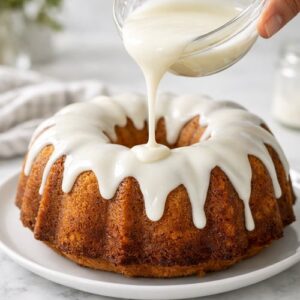
Let your baked cake cool completely—this is non-negotiable. Warm cake will melt the glaze unevenly. Once it’s cool to the touch, you can pour. Pour the glaze slowly from the center outward, letting it flow naturally. Don’t spread it like frosting—let gravity do the work. This teaches you to work with your ingredients’ natural properties instead of fighting them.
If you want glaze to drip down the sides, pour from about six inches above the center. If you want a smooth, contained layer on top, pour more slowly and from closer to the cake.
Step 7: Let It Set—And Learn About Patience
This final step teaches perhaps the most underrated skill in the kitchen: knowing when to wait. At room temperature, your glaze will harden in about two hours. In the refrigerator, it sets in 30 minutes. Don’t cut the cake before it’s fully set—you’ll tear the glaze.
This waiting period is when the emulsion fully stabilizes and the glaze firms up to the perfect texture. The science is still happening even though you’re not doing anything. That’s beautiful, and it’s worth respecting.
How to Know You’ve Mastered the Technique
Mastery isn’t about making a perfect glaze on the first try. It’s about recognizing these specific signs that tell you the technique is working:
- Visual: A glossy, uniform sheen – Your finished glaze should look smooth and slightly reflective, with no visible lumps or streaks. This tells you the emulsion held together perfectly.
- Tactile: Smooth texture with no graininess – Run your finger along the glaze (after it’s set). It should feel completely smooth, like silk. Any graininess means the emulsion broke slightly during mixing.
- The ribbon test – Your glaze should fall in a steady stream and leave a visible trail for a few seconds before blending back in. This is your sensory confirmation that the consistency is perfect.
- Proper flow on the cake – The glaze should find its own level without you having to spread it. If it’s flowing smoothly and settling evenly, your technique was sound.
- Clean setting – After it sets, your glaze should be firm enough to hold its shape but tender enough to cut through without shattering. This balance indicates proper emulsification and set time.
Common Technique Mistakes and How to Fix Them
- Grainy or gritty texture – This usually means your powdered sugar wasn’t sifted, or you added milk too quickly and broke the emulsion. Fix it by straining the glaze through a fine-mesh sieve, then whisking in a tiny amount of milk to smooth it back out. Next time, sift and take your time with that first tablespoon of milk.
- Glaze broke and looks separated (oily on top) – Your butter and milk lost their stable relationship. Add one tablespoon of powdered sugar and whisk vigorously for a full minute. Usually this brings it back together. If it doesn’t, start over—it’s faster than trying to rescue it. The lesson: don’t skip the gradual milk incorporation step.
- Too thick to pour – You’ve added too little milk or your measurements were off. Simply add a few drops of milk at a time and whisk. Don’t add more than you need—it’s easier to fix thick than too-thin.
- Too thin and running off the cake – You added too much milk. Whisk in one tablespoon of powdered sugar at a time until you reach the ribbon-test consistency. This is why I teach the ribbon test before pouring—it saves you from this mistake.
- Glaze didn’t set properly (still sticky after two hours) – Your kitchen is very warm and humid, or you added too much milk. Room temperature might take longer—try refrigerating it. If this happens regularly in your kitchen, you now know to reduce milk by a tablespoon next time.
Practice Variations to Build Your Skill
Once you’ve made the basic glaze successfully, try these progressively more challenging variations. Each teaches you something new about how the technique adapts:
Beginner Variation: Chocolate Glaze – Reduce the powdered sugar to ¾ cup and add 3 tablespoons unsweetened cocoa powder (sifted with the sugar). Proceed exactly as written. This teaches you how solid ingredients affect emulsification and how to adjust ratios when adding new elements.
Intermediate Variation: Citrus Glaze – Replace the milk with fresh lemon or orange juice (strained). Start with just ½ tablespoon of juice instead of 1 full tablespoon, because juice is more acidic and can break the emulsion more easily. This teaches you how different liquids behave and why gradual incorporation matters even more with acidic ingredients.
Advanced Variation: Cream Cheese Glaze – Use 1 tablespoon softened cream cheese instead of 1 tablespoon of the milk. Whisk the cream cheese with the butter and sugar first (it takes longer to incorporate smoothly), then add the remaining milk. This teaches you how different fats behave—cream cheese is softer than butter and emulsifies differently, requiring patience and understanding of why timing changes.
Can I Store Cake With Glaze Recipe?
Yes, and understanding storage teaches you about how emulsions behave over time:
A glazed cake keeps beautifully at room temperature for two days, loosely covered with plastic wrap. The glaze firms up further and actually tastes better as flavors meld. After three days, refrigerate it to prevent mold. Refrigerated glazed cake keeps for up to five days wrapped tightly. The cold makes the glaze firmer but doesn’t affect the taste.
You can also freeze a glazed cake for up to two months. Wrap it well in plastic wrap, then foil. Thaw it at room temperature for about four hours before serving. The glaze might look a bit condensed from the thawing process, but it’s still delicious.
Make-Ahead Guide: Make the glaze up to one day ahead and store it in an airtight container at room temperature. If it hardens slightly, whisk in a few drops of milk to restore the pourable consistency. This flexibility is what makes glaze so practical for busy bakers—you can make it whenever works for you and apply it when ready.
Nutrition Information
This recipe makes approximately 12 servings (one tablespoon per serving is standard for cake glaze).
Per 1-tablespoon serving: Calories: 52 | Fat: 2g | Carbohydrates: 8g | Protein: 0g | Sodium: 2mg
These figures are based on USDA standard reference data for powdered sugar, butter, and whole milk. The actual nutrition varies slightly depending on your specific ingredients and how evenly you distribute the glaze. If you drizzle generously, expect 75-100 calories per slice.
Expert’s Note: As a registered dietitian, I appreciate that this glaze is significantly lower in fat than traditional frosting because the emulsification technique creates a larger volume with less butter. You get beautiful coverage and rich taste with approximately 40% less fat than you’d use in a standard buttercream. That’s the science working for you, not against you.
What to Serve With Cake With Glaze Recipe
The beauty of a well-glazed cake is that it stands on its own, but it pairs beautifully with several simple accompaniments. These pairings let your glaze technique shine:
- Strong black coffee or espresso – The slight bitterness complements the sweetness of the glaze perfectly. This is why coffee cake glazes are so popular.
- Fresh berries – Tart raspberries or strawberries cut through the sweetness and provide textural contrast. Arrange them on top before the glaze fully sets for a professional look.
- Whipped cream – A small dollop of barely sweetened whipped cream is elegant and helps with digestion of the richer glaze.
- Herbal tea – A delicate chamomile or lavender tea complements vanilla-glazed cakes beautifully.

Cake With Glaze Recipe
Ingredients
Method
- This first step teaches you about ingredient preparation as foundation. Lumpy powdered sugar will create a lumpy glaze, no matter how well you whisk. Sifting removes those lumps and aerates the sugar slightly, which actually helps it incorporate more smoothly with the other ingredients. Use a fine-mesh sieve and press gently with the back of a spoon. Don't be tempted to skip this—it takes thirty seconds and prevents frustration later. This is how I teach busy clients to build reliability: the small prep steps prevent big problems.
- Now you're starting the emulsification process. Pour your slightly cooled melted butter directly into the powdered sugar. This is important: the butter should be warm enough to incorporate smoothly, but not so hot it causes the sugar to crystallize. If it's piping hot, let it cool for a minute. Using a wire whisk (not a fork—the wires distribute ingredients more evenly), begin whisking vigorously for about 30 seconds. You'll notice the mixture starts looking grainy and thick, almost like wet sand. This is exactly what should happen. Keep whisking. What you're doing is distributing tiny droplets of butter evenly throughout the sugar. This distribution is what eventually allows the milk to incorporate without breaking the emulsion.
- This is the critical moment that teaches you about patience in emulsification. Pour in just one tablespoon of milk and whisk steadily for about 45 seconds to a minute. Don't rush this part. I know it's tempting to add more milk to speed things up, but this is where the technique solidifies. As you whisk, the mixture will transform from grainy to creamy to completely smooth. You should see the glaze become lighter in color and glossy. The milk is being incorporated evenly, surrounded by those tiny butter droplets we distributed earlier. This stable structure is what keeps your glaze from breaking. This step teaches you to recognize when an emulsion is properly formed—it should be smooth, uniform in color, and have a slight sheen.
- Add the vanilla extract and whisk for another 15 seconds. The vanilla doesn't change the texture, but it deepens the flavor and masks any sharpness from the butter. If you're using salted butter, you can skip the salt pinch. If using unsalted, now's the time to add that pinch and whisk it in. Now comes the skill-building moment: testing your glaze for the perfect consistency. Take a spoon, dip it into the glaze, and drizzle it back into the bowl. Watch what happens. The glaze should fall in a steady stream and blend back into the main mixture after about three to five seconds, leaving a slight ribbon trail. This visual test teaches you to trust your senses instead of relying on exact measurements—because every kitchen is different. Humidity, ingredient brands, even altitude can affect how quickly milk incorporates.
- If your glaze is too thick and doesn't ribbon properly, add another half tablespoon of milk and whisk for 30 seconds. Test again. Repeat if necessary. This teaches you the principle of gradual adjustment—it's always easier to thin out than to thicken back up. If your glaze somehow became too thin (which is rare), whisk in one tablespoon of powdered sugar at a time until you reach that perfect consistency. The key is whisking thoroughly after each addition—those 30-second intervals give the sugar time to fully incorporate and for you to evaluate the actual texture, not just what you think it should be. This step teaches professionals and home cooks alike to taste and adjust as they go. It's the foundation of reliable cooking.
- Let your baked cake cool completely—this is non-negotiable. Warm cake will melt the glaze unevenly. Once it's cool to the touch, you can pour. Pour the glaze slowly from the center outward, letting it flow naturally. Don't spread it like frosting—let gravity do the work. This teaches you to work with your ingredients' natural properties instead of fighting them. If you want glaze to drip down the sides, pour from about six inches above the center. If you want a smooth, contained layer on top, pour more slowly and from closer to the cake.
- This final step teaches perhaps the most underrated skill in the kitchen: knowing when to wait. At room temperature, your glaze will harden in about two hours. In the refrigerator, it sets in 30 minutes. Don't cut the cake before it's fully set—you'll tear the glaze. This waiting period is when the emulsion fully stabilizes and the glaze firms up to the perfect texture. The science is still happening even though you're not doing anything. That's beautiful, and it's worth respecting.
Notes
FAQs
Can I Make Glaze Without Powdered Sugar?
Not really, and here’s why—understanding this teaches you about ingredient function. Powdered sugar has cornstarch mixed into it, which acts as a thickener and helps stabilize the emulsion. Regular granulated sugar won’t dissolve smoothly into the glaze, and it doesn’t provide the same emulsifying properties. You could make a different type of glaze with granulated sugar (by making a simple syrup first), but that’s a different technique entirely. Powdered sugar is the ingredient that makes this particular method work.
Why Does My Glaze Keep Breaking?
Breaking usually happens because of one of three reasons: your butter was too hot when you started, you added all the milk at once instead of gradually, or your kitchen is very cold. For a cold kitchen, let all your ingredients sit at room temperature for 30 minutes before starting. For the process, remember: warm but not hot butter, and gradual milk incorporation. If it breaks, add a tablespoon of powdered sugar and whisk hard for a minute—often it comes back together.
How Thin Should Glaze Be for the Ribbon Test?
Imagine honey at room temperature. It should flow steadily from a spoon but not run off instantly. When you drizzle it back into the bowl, it should create a visible trail that blends back in within three to five seconds. If it disappears in one second, add more sugar. If it doesn’t blend back in at all, add a few drops more milk. This test is more reliable than any temperature or timing guide because it adapts to your specific kitchen conditions.
Can I Use Salted Butter Instead of Unsalted?
Yes, absolutely. The technique works identically. Just skip the salt pinch since salted butter already contains salt. One small note: different brands of salted butter have different salt levels, so taste as you go. If it seems too salty, you can add a splash more milk to dilute slightly, or use unsalted next time for more control.
What’s the Difference Between This Glaze and Icing?
Glaze is thinner and pourable—it flows and drips naturally. Icing (like royal icing) is stiffer and designed to be piped or spread. They use similar emulsification principles, but glaze has more liquid relative to thickener, creating that characteristic smooth flow. Once you master glaze, royal icing is easy—you’re just using less liquid and more powdered sugar for a stiffer consistency.
More Recipes Using This Technique
- this simple cake – a show-stopping cake that begs for a perfect glaze finish
Every time you make this glaze, you’re building muscle memory for emulsification—one of the most valuable techniques in the kitchen. You’re learning to trust your senses, to adjust on the fly, and to understand that cooking is as much about understanding principles as it is about following steps.
I still think about that moment with my grandmother, standing frozen with a spatula in my hand. She taught me that technique isn’t something to fear—it’s something to celebrate. Because once you understand how glaze works, you’re not just topping a cake. You’re demonstrating mastery. You’re showing everyone who eats it that you understand the science of cooking.
Now you do too. Make this glaze. Make it again. Pay attention to what happens in your bowl. Notice the moment the emulsion comes together. Feel the difference between milk added too fast and milk incorporated with patience. These sensory moments are how you become a confident baker.
I can’t wait to hear about your perfectly glazed cake. You’ve got this. Enjoy!