
Ingredients
Method
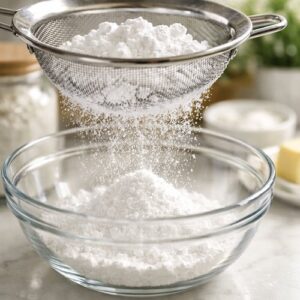
Step 1: Sift Your Powdered Sugar Into a Medium Bowl
- This first step teaches you about ingredient preparation as foundation. Lumpy powdered sugar will create a lumpy glaze, no matter how well you whisk. Sifting removes those lumps and aerates the sugar slightly, which actually helps it incorporate more smoothly with the other ingredients. Use a fine-mesh sieve and press gently with the back of a spoon. Don't be tempted to skip this—it takes thirty seconds and prevents frustration later. This is how I teach busy clients to build reliability: the small prep steps prevent big problems.
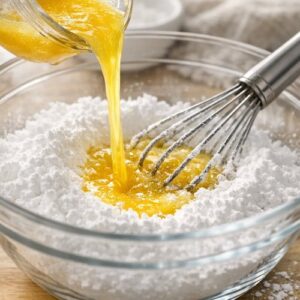
Step 2: Add Your Melted Butter and Begin Whisking
- Now you're starting the emulsification process. Pour your slightly cooled melted butter directly into the powdered sugar. This is important: the butter should be warm enough to incorporate smoothly, but not so hot it causes the sugar to crystallize. If it's piping hot, let it cool for a minute. Using a wire whisk (not a fork—the wires distribute ingredients more evenly), begin whisking vigorously for about 30 seconds. You'll notice the mixture starts looking grainy and thick, almost like wet sand. This is exactly what should happen. Keep whisking. What you're doing is distributing tiny droplets of butter evenly throughout the sugar. This distribution is what eventually allows the milk to incorporate without breaking the emulsion.
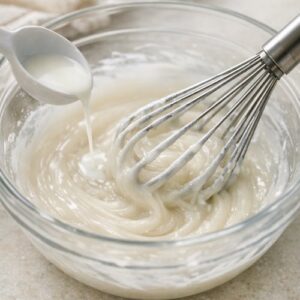
Step 3: Add 1 Tablespoon of Milk and Whisk Until Completely Smooth
- This is the critical moment that teaches you about patience in emulsification. Pour in just one tablespoon of milk and whisk steadily for about 45 seconds to a minute. Don't rush this part. I know it's tempting to add more milk to speed things up, but this is where the technique solidifies. As you whisk, the mixture will transform from grainy to creamy to completely smooth. You should see the glaze become lighter in color and glossy. The milk is being incorporated evenly, surrounded by those tiny butter droplets we distributed earlier. This stable structure is what keeps your glaze from breaking. This step teaches you to recognize when an emulsion is properly formed—it should be smooth, uniform in color, and have a slight sheen.
Step 4: Add Your Vanilla and Evaluate Consistency
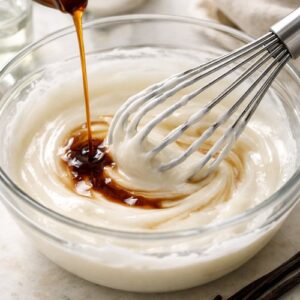
- Add the vanilla extract and whisk for another 15 seconds. The vanilla doesn't change the texture, but it deepens the flavor and masks any sharpness from the butter. If you're using salted butter, you can skip the salt pinch. If using unsalted, now's the time to add that pinch and whisk it in. Now comes the skill-building moment: testing your glaze for the perfect consistency. Take a spoon, dip it into the glaze, and drizzle it back into the bowl. Watch what happens. The glaze should fall in a steady stream and blend back into the main mixture after about three to five seconds, leaving a slight ribbon trail. This visual test teaches you to trust your senses instead of relying on exact measurements—because every kitchen is different. Humidity, ingredient brands, even altitude can affect how quickly milk incorporates.
Step 5: Adjust Thickness (The Most Important Technique Skill)
- If your glaze is too thick and doesn't ribbon properly, add another half tablespoon of milk and whisk for 30 seconds. Test again. Repeat if necessary. This teaches you the principle of gradual adjustment—it's always easier to thin out than to thicken back up. If your glaze somehow became too thin (which is rare), whisk in one tablespoon of powdered sugar at a time until you reach that perfect consistency. The key is whisking thoroughly after each addition—those 30-second intervals give the sugar time to fully incorporate and for you to evaluate the actual texture, not just what you think it should be. This step teaches professionals and home cooks alike to taste and adjust as they go. It's the foundation of reliable cooking.
Step 6: Pour Over Your Cooled Cake
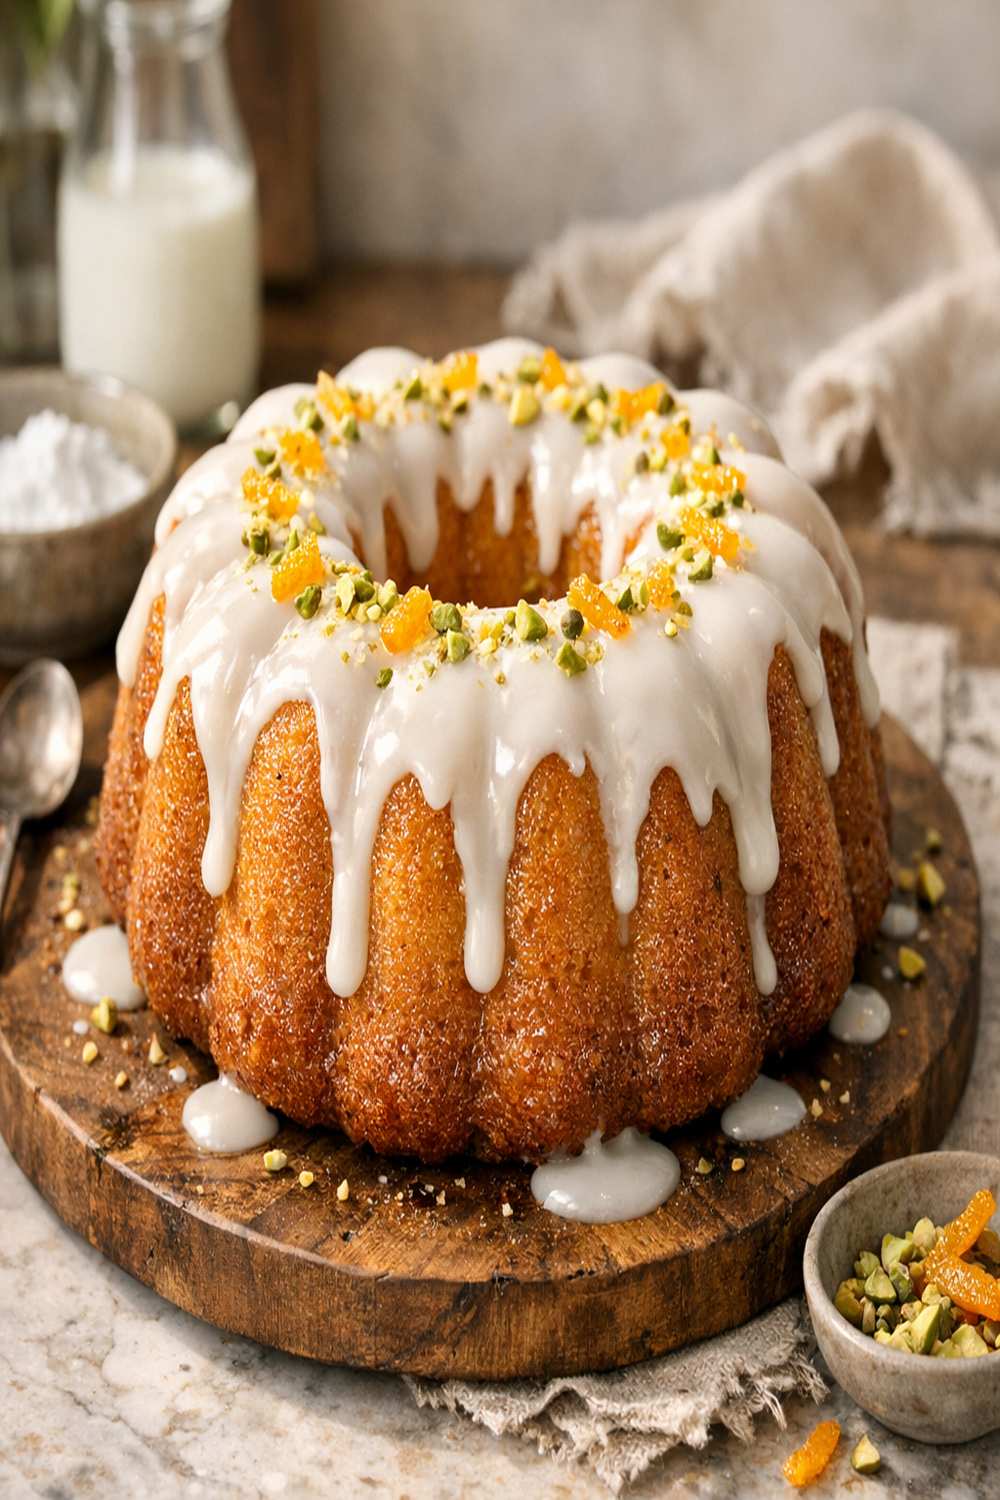
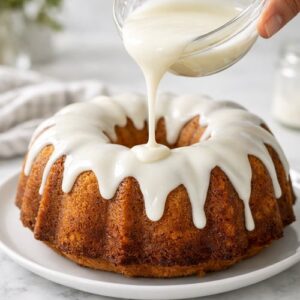
- Let your baked cake cool completely—this is non-negotiable. Warm cake will melt the glaze unevenly. Once it's cool to the touch, you can pour. Pour the glaze slowly from the center outward, letting it flow naturally. Don't spread it like frosting—let gravity do the work. This teaches you to work with your ingredients' natural properties instead of fighting them. If you want glaze to drip down the sides, pour from about six inches above the center. If you want a smooth, contained layer on top, pour more slowly and from closer to the cake.
Step 7: Let It Set—And Learn About Patience
- This final step teaches perhaps the most underrated skill in the kitchen: knowing when to wait. At room temperature, your glaze will harden in about two hours. In the refrigerator, it sets in 30 minutes. Don't cut the cake before it's fully set—you'll tear the glaze. This waiting period is when the emulsion fully stabilizes and the glaze firms up to the perfect texture. The science is still happening even though you're not doing anything. That's beautiful, and it's worth respecting.
Notes
- Grainy or gritty texture - This usually means your powdered sugar wasn't sifted, or you added milk too quickly and broke the emulsion. Fix it by straining the glaze through a fine-mesh sieve, then whisking in a tiny amount of milk to smooth it back out. Next time, sift and take your time with that first tablespoon of milk.
- Glaze broke and looks separated (oily on top) - Your butter and milk lost their stable relationship. Add one tablespoon of powdered sugar and whisk vigorously for a full minute. Usually this brings it back together. If it doesn't, start over—it's faster than trying to rescue it. The lesson: don't skip the gradual milk incorporation step.
- Too thick to pour - You've added too little milk or your measurements were off. Simply add a few drops of milk at a time and whisk. Don't add more than you need—it's easier to fix thick than too-thin.
- Too thin and running off the cake - You added too much milk. Whisk in one tablespoon of powdered sugar at a time until you reach the ribbon-test consistency. This is why I teach the ribbon test before pouring—it saves you from this mistake.
- Glaze didn't set properly (still sticky after two hours) - Your kitchen is very warm and humid, or you added too much milk. Room temperature might take longer—try refrigerating it. If this happens regularly in your kitchen, you now know to reduce milk by a tablespoon next time.