Ingredients
Method
Step 1: Preheat the Oven
- Start by preheating your oven to a cozy 350°F. This will help the layers rise beautifully and bake evenly.
Step 2: Prepare Your Pans
- Grab your 5 (8-inch) round cake pans. If you're using disposable pans, that works too! Line the pans with parchment paper, making sure to grease and lightly flour them afterwards. This will ensure that your cakes slide right out once baked.
Step 3: Cream Your Sugars and Fats
- In a large mixing bowl, cream together the granulated sugar, butter, and vegetable shortening until the mixture is light and fluffy. If you need a workout, use a whisk—if you’re feeling lazy, an electric mixer is your best friend here.
Step 4: Incorporate Your Eggs
- Add in the eggs, one at a time. Make sure to mix well after each addition. Patience is key—it allows the eggs to blend in perfectly, resulting in a smooth batter. Following this, mix in your vanilla and almond extracts, giving everything a good stir.
Step 5: Sift Your Dry Ingredients
- In a separate bowl, sift together the flour, baking powder, and salt. Sifting helps prevent lumps, ensuring a perfectly fluffy cake.
Step 6: Combine Wet and Dry Ingredients
- Gradually add the dry ingredients into your wet mixture, alternating with the warmed milk. As you mix, don’t forget to scrape down the sides of the bowl to make sure everything is well combined. It'll be rather thick, and that’s perfect!
Step 7: Distribute Batter into Pans
- Pour about 1 cup of the batter into each prepared pan, spreading it into an even layer. Each layer needs to be just right for the cake to look beautiful once stacked.
Step 8: Bake the Layers
- Bake the cakes for about 10-12 minutes. You want the edges to be lightly golden, and the centers should be set. Avoid overcooking, as the heat will continue to cook the cake a bit longer even after it's out.
Step 9: Cool the Layers
- Once baked, allow the pans to cool until they are warm to the touch. Transfer the layers to a cooling rack and let them cool completely.
Step 10: Make the Frosting
- While your layers are cooling, let’s make the frosting. In a large saucepan, melt the butter over medium heat. Stir in the granulated sugar, brown sugar, cocoa powder, and evaporated milk. Bring the mixture to a boil until it reaches approximately 235°F on a candy thermometer.
Step 11: Add Vanilla and Salt
- Once boiling, reduce the heat and stir in the vanilla extract and a pinch of sea salt. Keep the frosting warm while you frost the cake, as it should have a texture similar to thick chocolate syrup.
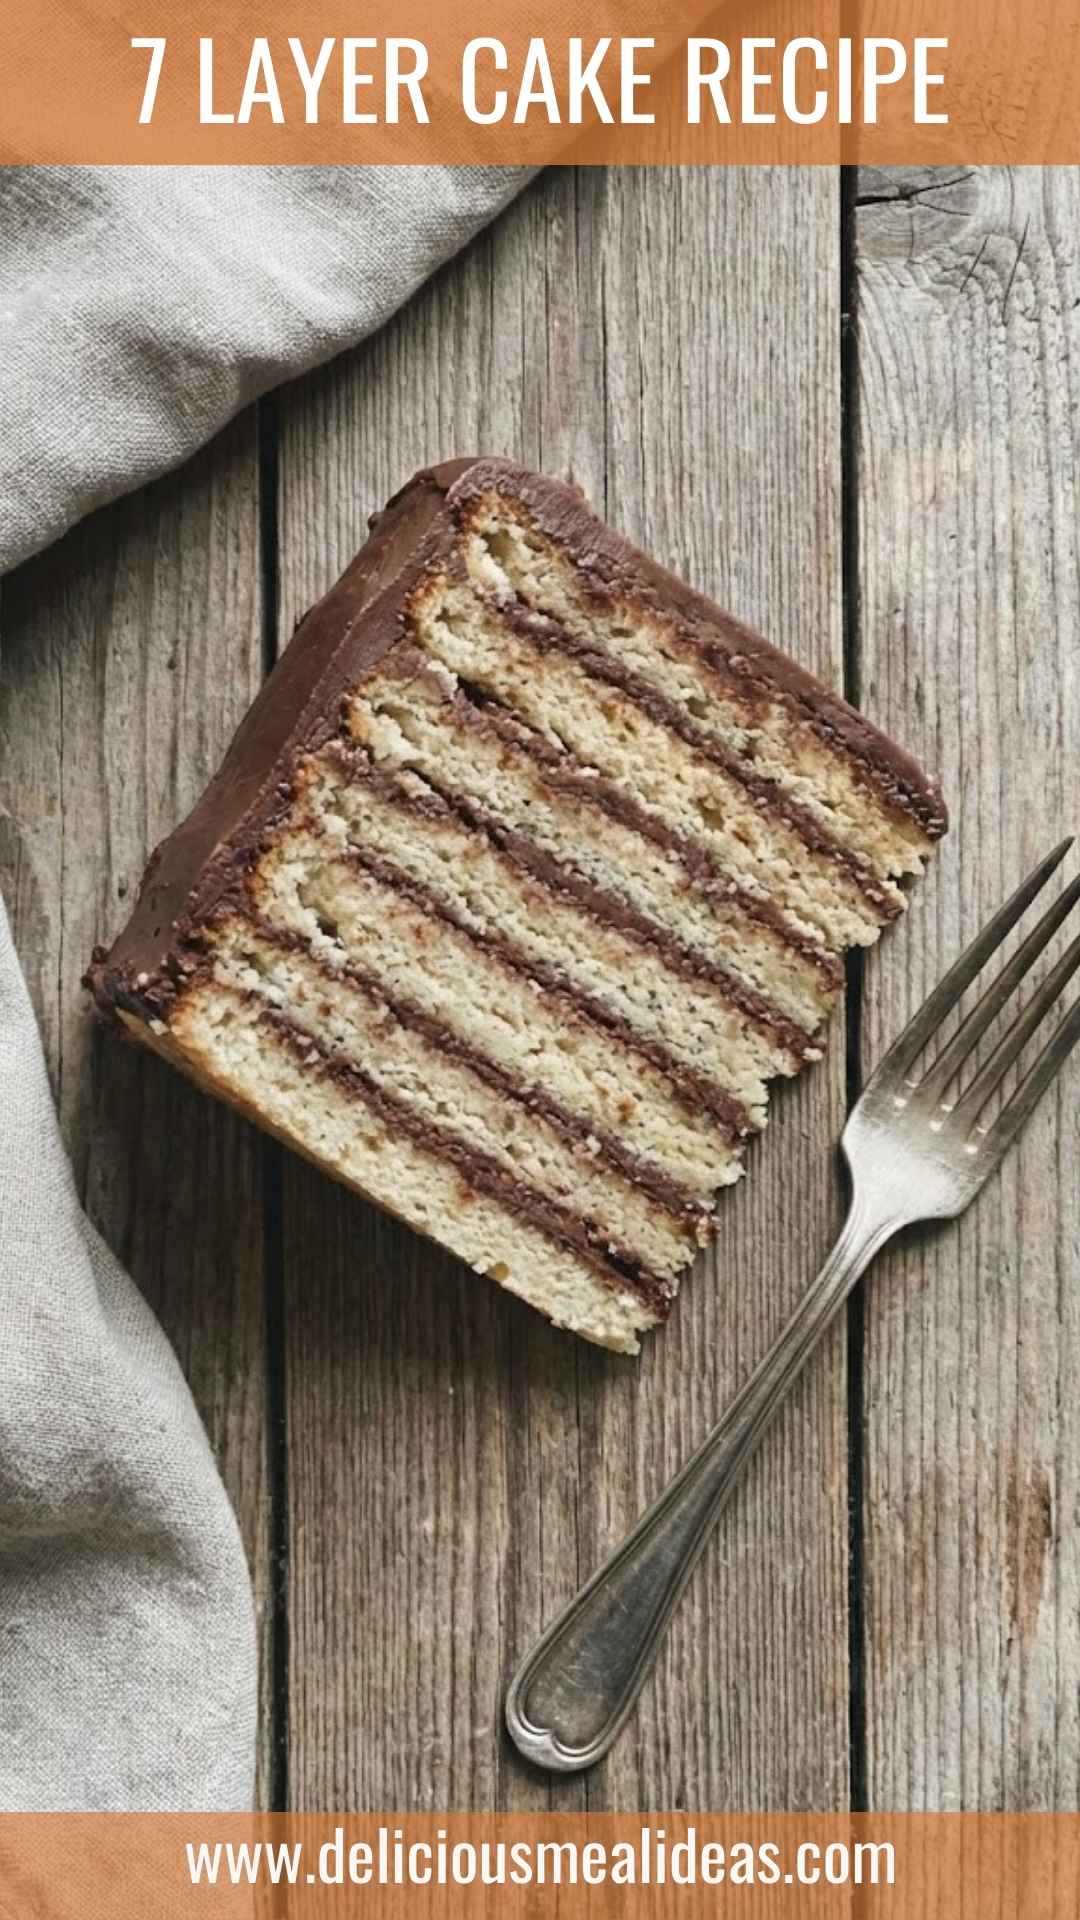
Step 12: Assemble the Cake
- Begin assembling by placing one layer of cake on a cake board on top of a cooling rack. It’s helpful to place a baking sheet under the rack to catch any dripping frosting.
Step 13: Frost Between Layers
- Using a spoon, place about ¼ cup of the frosting between each cake layer, spreading it evenly. Repeat this process until all layers are stacked and frosted.
Step 14: Finishing Touch
- Make another batch of frosting, and pour it generously over the top of the finished cake. This will fill in any gaps and give a uniform look.
Step 15: Let It Set
- Allow the cake to sit until the frosting has firmed up. Slice it just before serving, and watch it disappear!
Notes
- Room Temperature Ingredients: Always use eggs and butter at room temperature for better mixing and fluffiness.
- Quality Ingredients Matter: Use high-quality cocoa powder and vanilla extract for richer flavors.
- - Be Mindful of Baking Time: Check on your cakes around the 10-minute mark to avoid over-baking.
- Storing Leftovers: If you have any left, store the cake in an airtight container to keep it moist.
- Flavor Variations: Feel free to add different extracts like peppermint or orange for a unique twist in flavor.