Ingredients
Method
Step 1: Prepare the Cake Layers
- Start by prepping three 8-inch round cake pans. Line the bottoms with parchment paper circles and grease the sides generously to prevent sticking. Preheat your oven to 350°F (176°C). This step is critical for ensuring your cakes bake evenly.
Step 2: Mix the Dry Ingredients
- In a medium-sized mixing bowl, combine the all-purpose flour, baking powder, and salt. Give it a quick whisk to evenly distribute the dry ingredients. Set this bowl aside; we’ll come back to it.
Step 3: Create the Base of the Cake
- In a large mixing bowl, add the softened butter, vegetable oil, and granulated sugar. Using a mixer, beat together these ingredients for about 3-4 minutes. You want your mixture to become light and fluffy—don’t rush this part. The change in color and texture will let you know it’s ready.
Step 4: Add the Eggs and Vanilla
- Add your eggs two at a time, mixing well after each addition. With the second round of eggs, toss in your vanilla extract, too. Make sure to scrape down the bowl’s sides and bottom as needed to ensure everything is well blended.
Step 5: Combine the Dry and Wet Ingredients
- Now, gradually add in half of your flour mixture. Mix just until combined. Next, pour in the buttermilk and mix until smooth. Finally, add the remaining dry ingredients and mix until everything is incorporated but be cautious not to over-mix.
Step 6: Divide and Color the Batter
- Divide the batter evenly into six bowls. Each bowl should hold just a bit more than a cup of batter. Add one gel color to each bowl and gently fold until the color is completely blended throughout.
Step 7: Layer the Colors in the Pans
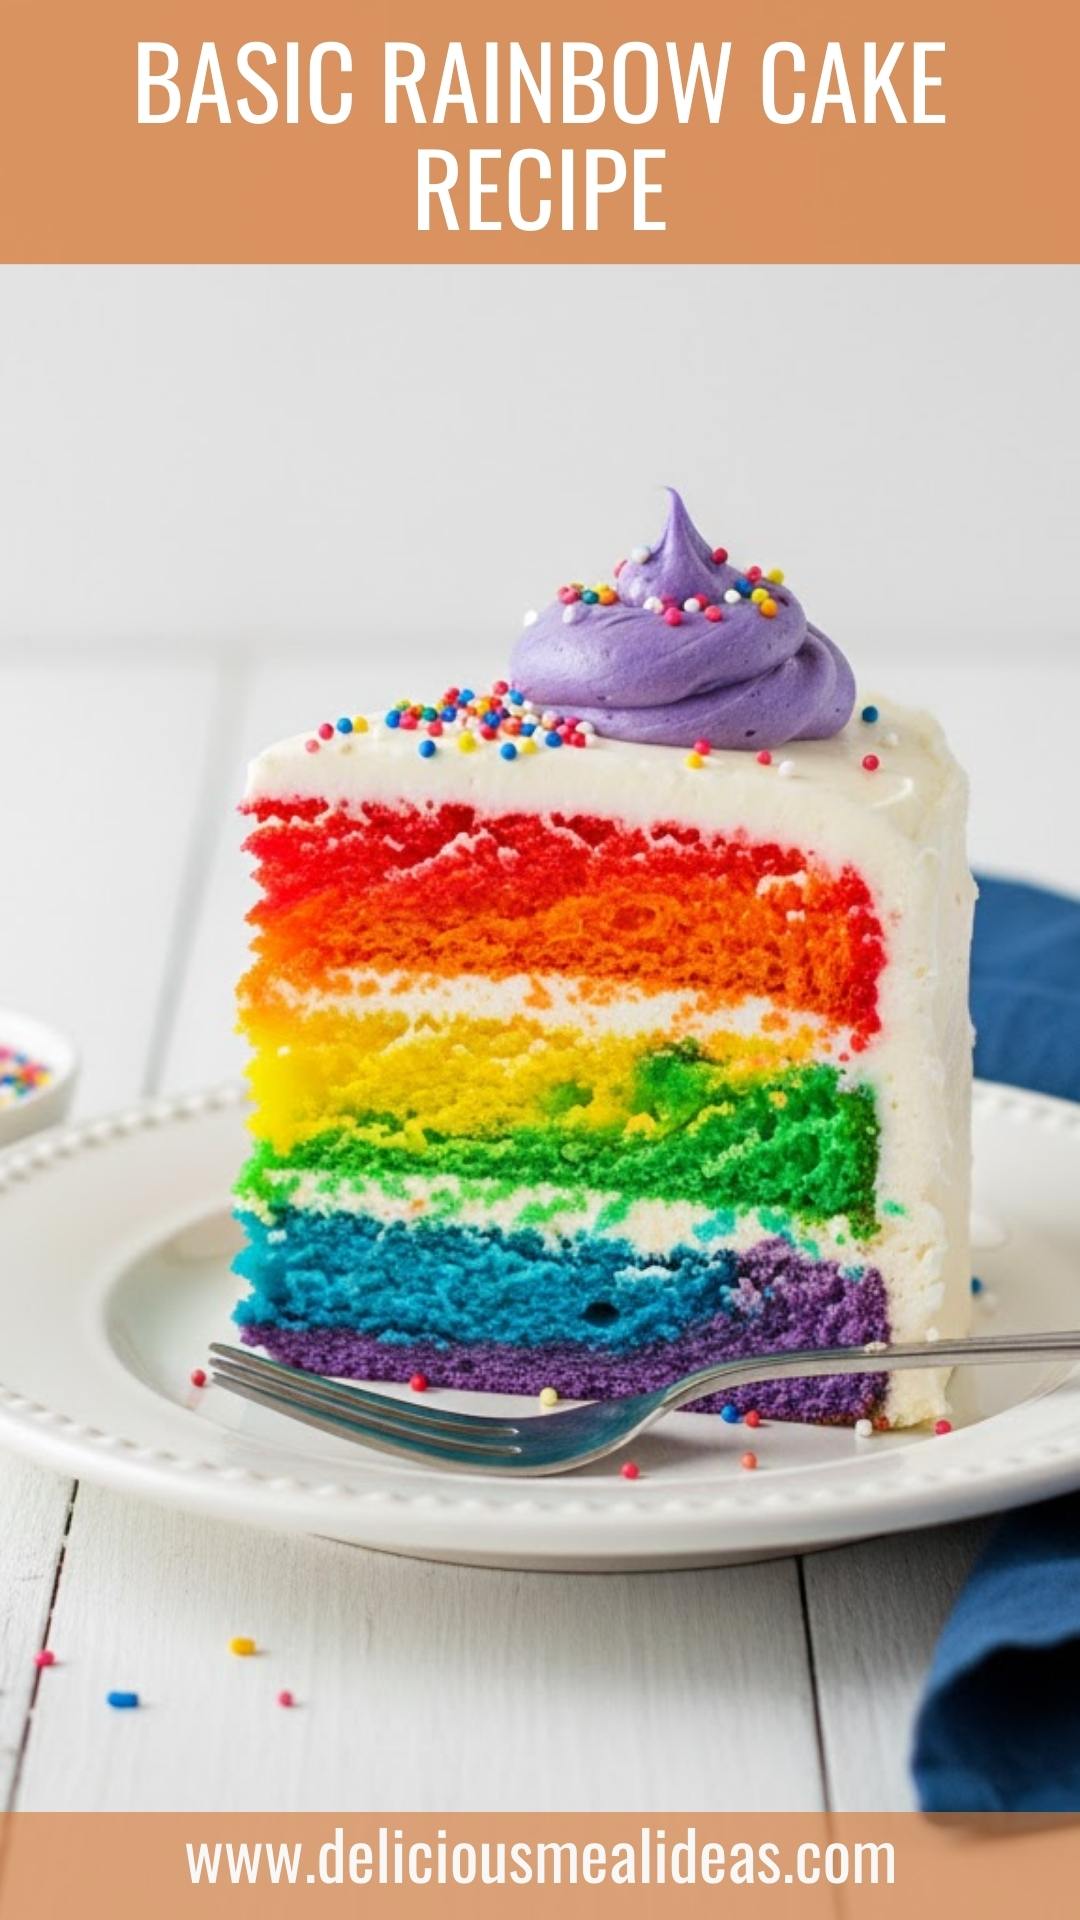
- Now comes the fun part! Starting with the violet batter, spoon it into the bottom of the prepared pans. Follow it with the blue, green, yellow, orange, and finally red—the colors should be divided evenly between the three pans. A gentle jiggle of the pans helps distribute the batter slightly.
Step 8: Bake
- Pop the pans in your preheated oven and bake for 28-33 minutes. You'll know they’re ready when a toothpick inserted in the center comes out clean.
Step 9: Cool Down
- After baking, let the cakes cool in the pans for about 2-3 minutes before transferring them to cooling racks. Allow them to cool completely before frosting—patience is key!
Step 10: Make the Frosting
- To whip up your frosting, combine the softened salted butter and shortening in a large mixing bowl. Beat until smooth. Add about half of the powdered sugar and mix until it’s well blended and smooth. After that, incorporate the vanilla and a couple of tablespoons of water or milk, mixing until combined. Gradually mix in the remaining powdered sugar and adjust the consistency with more liquid if needed.
Step 11: Assemble the Cake
- Start by leveling the tops of your cooled cakes. Place the first layer on a cake plate. Add about one cup of frosting over the top of this layer and spread it evenly. Repeat with the second layer, topping it with frosting as well. Once you add the third layer, frost the sides and top of the entire cake until smooth.
Step 12: Color the Remaining Frosting
- Divide any leftover frosting among six bowls. Using your gel colors, tint each bowl with one of the six rainbow colors.
Step 13: Create the Swirl for Decoration
- To create a rainbow swirl for the cake’s edges, fill a piping bag (or a zip-lock bag with the tip cut off) with your colored frostings side by side on a piece of clear wrap, then roll it into a log. Pipe shells of frosting around the top edge of the cake, slightly twisting the bag to create a swirled effect.
Step 14: Final Touches
- Pipe additional shells at the base of the cake if desired.
- Store the cake in an airtight container until it’s time to serve. The flavors deepen and improve over a couple of days!
Notes
- Bake the layers a day ahead for easier assembly.
- Make your frosting a day in advance and let it sit covered at room temperature. Mix again before use.
- If you want to save time, use pre-made frosting instead of making your own.
- Always let your cakes cool completely before frosting to avoid melting the frosting.
- Get creative! You can add sprinkles or edible glitter on top for extra pizzazz.