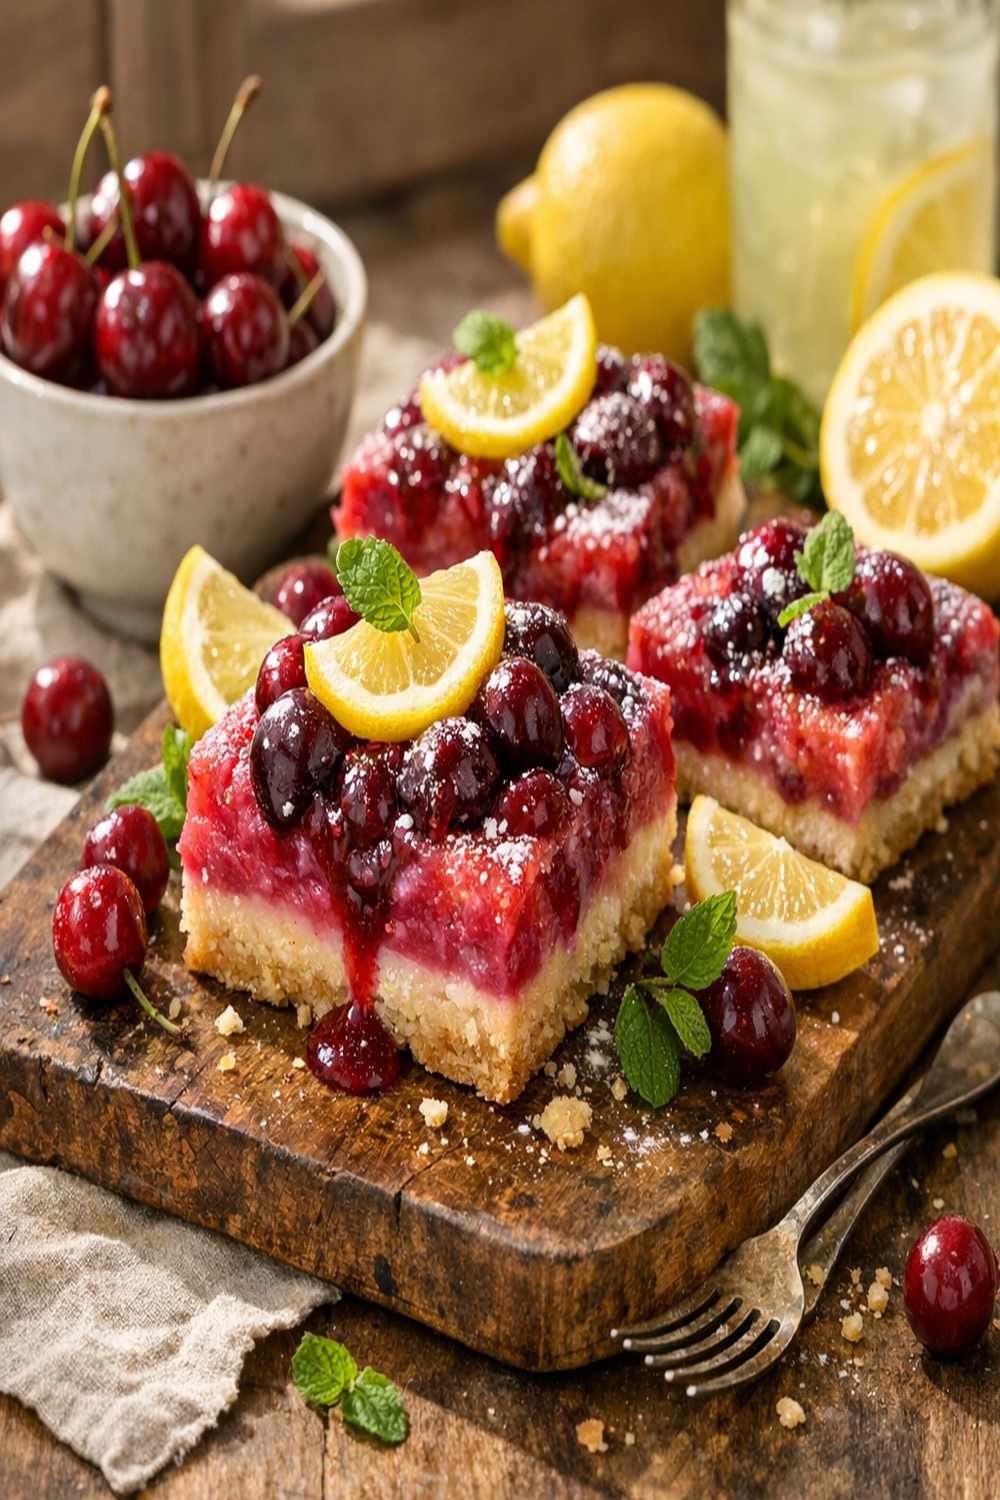

Ingredients
Method
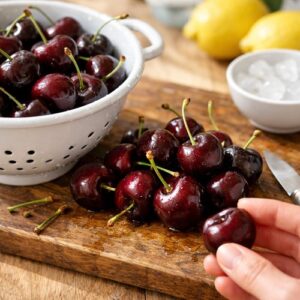
Step 1: Select and Prepare Your Cherries
- Start by choosing the most beautiful, darkest cherries you can find at your market. If you're buying fresh, look for ones that feel heavy for their size—that means they're full of juice. If using frozen (which is perfectly fine and often more economical), thaw them completely and drain any excess liquid. Pat them dry with a paper towel because excess moisture will dilute your syrup base. This is the moment where your final color is determined, so don't skip it.
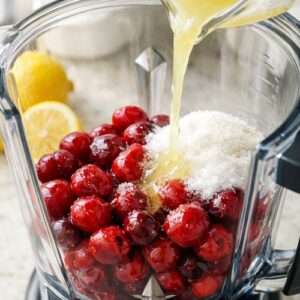
Step 2: Combine Your Base Ingredients
- Pour your pitted cherries, sugar, and fresh lemon juice directly into a blender. I always use a high-powered blender for this step because it creates a completely smooth consistency without any berry bits. Blend on high speed for 60-90 seconds until the mixture is absolutely silky and there are no visible cherry pieces remaining. You're aiming for a texture that's almost velvety—that's how you know the sugars have fully dissolved and the fruit is completely broken down.
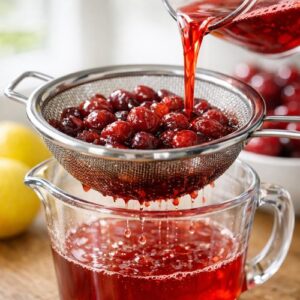
Step 3: Strain for Clarity (Optional But Worthwhile)
- Here's where you have a choice, and I want to be honest about both options. If you want that professional, jewel-like clarity that catches light beautifully in a glass, pour the mixture through a fine-mesh strainer lined with cheesecloth. Press gently on the solids with the back of a spoon—don't force it, just let gravity do the work. This takes about 5 minutes and yields an absolutely pristine syrup. If you prefer the rustic, homemade aesthetic (which I often do), skip this step entirely. Both versions are equally beautiful; it just depends on the vibe you're creating.
Step 4: Mix Your Beverage to Taste
- This is where your syrup transforms into a finished drink. In a large pitcher, combine your cherry-lemon syrup with still or sparkling water in a ratio of roughly 2 parts syrup to 3 parts water. However, taste as you go—everyone's preference is different. Some guests love it more concentrated and intense; others prefer something lighter and more refreshing. Start with less water, taste, and add more until it's exactly what you want. This flexibility is one of the joys of homemade refreshers.
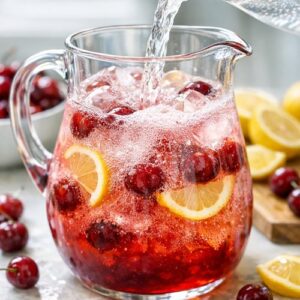
Step 5: Chill and Serve with Intention
- Fill your glasses with high-quality ice cubes (filtered water creates clearer ice that's more visually appealing than cloudy ice). Pour the mixture slowly over the ice so you can watch that beautiful gradient develop—the color will shift from deep red at the bottom to lighter pink toward the top. Add a sprig of fresh mint and a frozen lemon slice if you'd like. The presentation is part of the pleasure here.
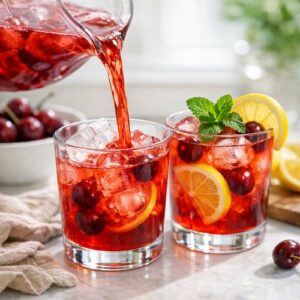
Notes
- Shoot in natural light, never flash - Position your glass near a window so sunlight passes through it. The cherry-lemon color becomes absolutely luminous when backlit. Early morning or late afternoon golden hour light makes the drink look like liquid ruby. Avoid direct overhead light, which can wash out the color.
- Use a clear glass and simple background - The drink itself is the star, so keep your background neutral—white tablecloth, wooden table, or soft blurred background. You want viewers' eyes drawn immediately to that gorgeous color in the glass. A simple garnish of fresh mint or a lemon wheel adds context without competing for attention.