Ingredients
Method
Step 1: Prepare the Pie Crust
- If you're using a store-bought crust, follow the package instructions and place it in a pie dish. If you're making your own, roll it out to fit the dish and pre-bake it according to your recipe.
Step 2: Melt the Butter & Chocolate
- In a heavy saucepan over low heat, combine the butter and dark chocolate. Stir occasionally until fully melted and smooth.
- Step 3: Mix the Dry Ingredients
- In a separate bowl, mix the granulated sugar, cocoa powder, flour, sea salt, and espresso powder. Combine them well, so every bite of your pie is consistently flavorful.
Step 4: Whisk the Egg Yolks
- In a small mixing bowl, whisk the egg yolks until well beaten. This will help in creating a velvety filling.
Step 5: Heat the Milk
- In another saucepan, heat the milk over a medium flame until it's just bubbling. Don’t boil it! This keeps the creaminess intact.
Step 6: Combine Mixtures
- Slowly add half of the hot milk to the dry mixture, whisking constantly. This tempers the eggs and prevents scrambling. Once combined, pour this mixture back into the remaining milk in the saucepan.
Step 7: Cook the Filling
- Over medium-low heat, cook the mixture, stirring constantly until it thickens. This should take about 5-6 minutes. Once it coats the back of a spoon, remove from heat.
Step 8: Add Chocolate & Vanilla
- Stir in the melted chocolate and butter mixture along with the vanilla extract. Mix until smooth. Pour this luscious chocolate filling into the prepared pie crust.
Step 9: Chill
- Let the pie cool at room temperature, then cover it and refrigerate for at least four hours. This allows the filling to set permanently.
Step 10: Serve & Enjoy
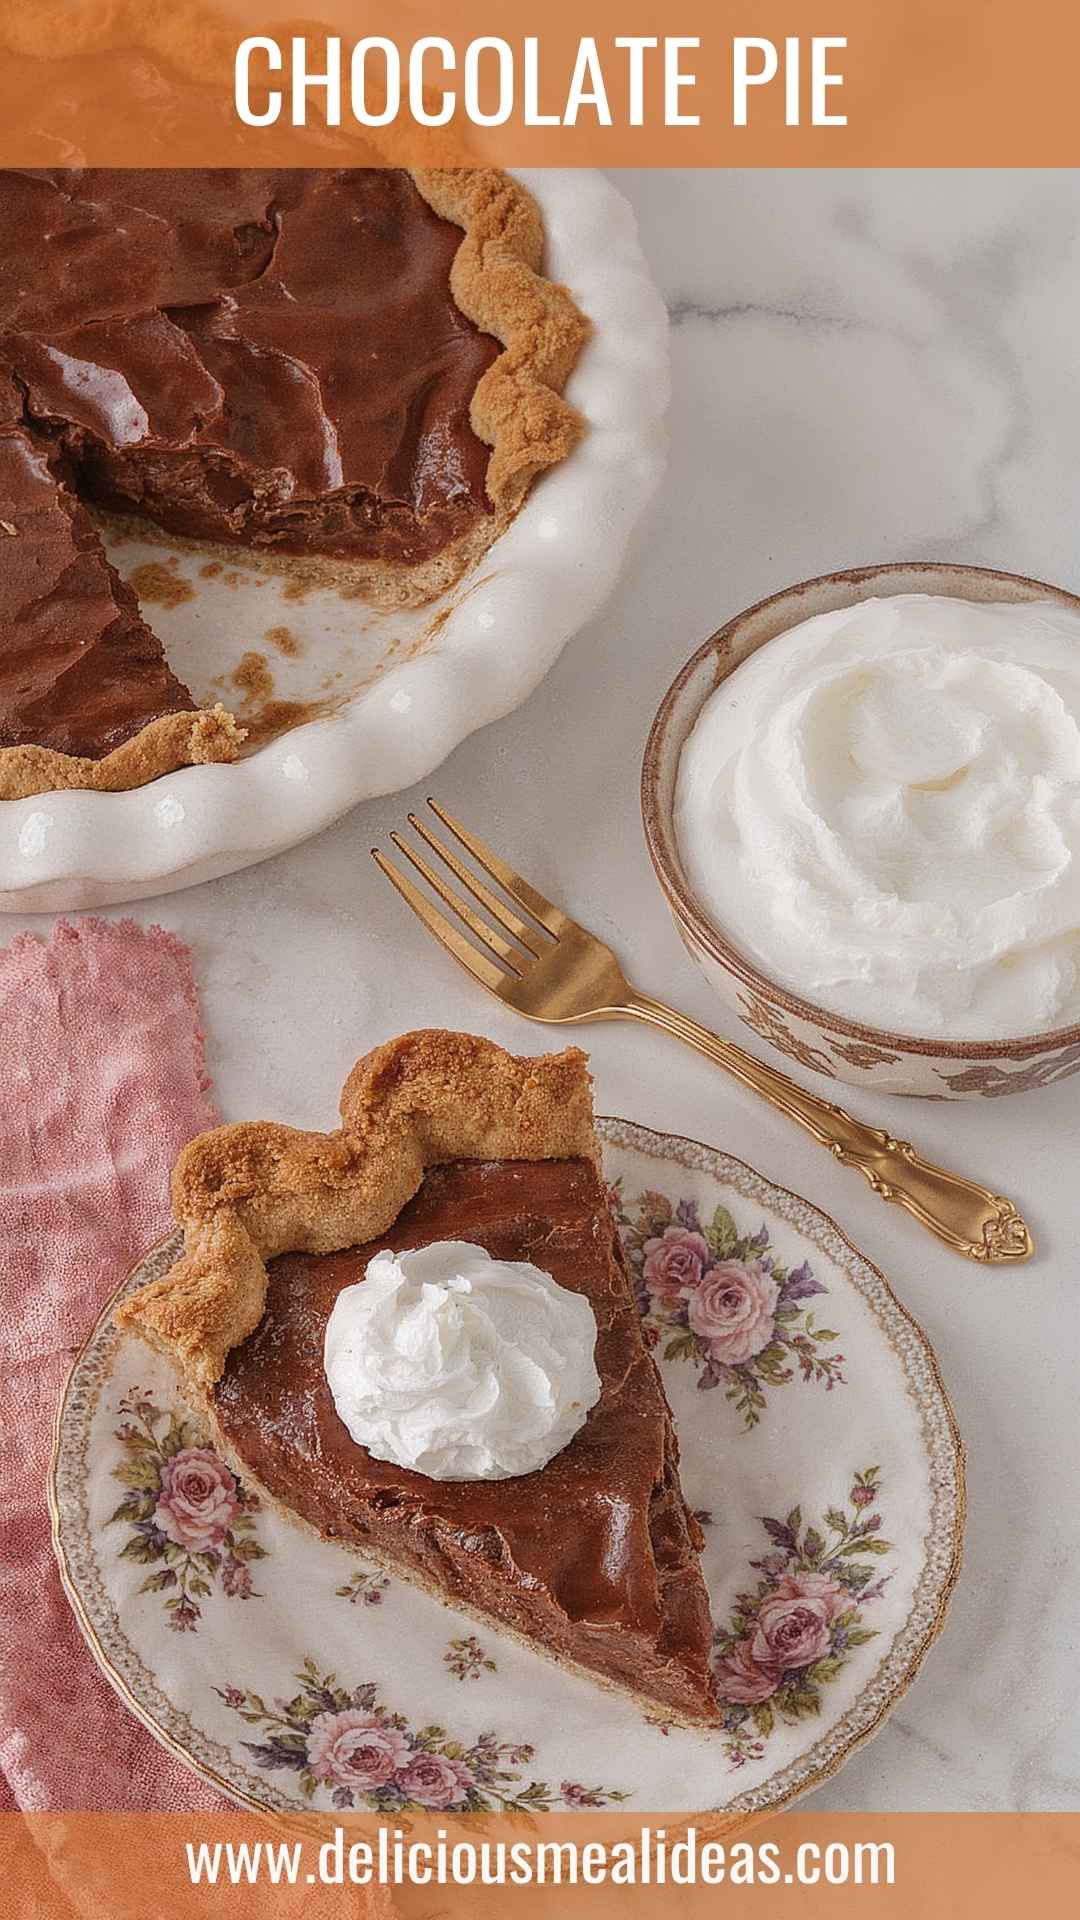
- Top with whipped cream and enjoy each spoonful! Don’t be surprised if you find yourself going back for seconds.
- Tips for the Perfect Chocolate
Notes
- Use Quality Ingredients: Invest in good quality chocolate and cocoa powder. The flavor really shines through!
- Room Temperature Eggs: Ensure your egg yolks are at room temperature, as they incorporate into the mixture more smoothly.
- Don’t Rush the Cooling: Be patient and let the filling set properly in the fridge. It will be worth the wait.
- Presentation Matters: For an extra touch, you can sprinkle sea salt on top of the whipped cream before serving. It’s all about the little details!
- Experiment with Flavors: Feel free to play with the vanilla—try different extracts like almond or orange for a unique twist.