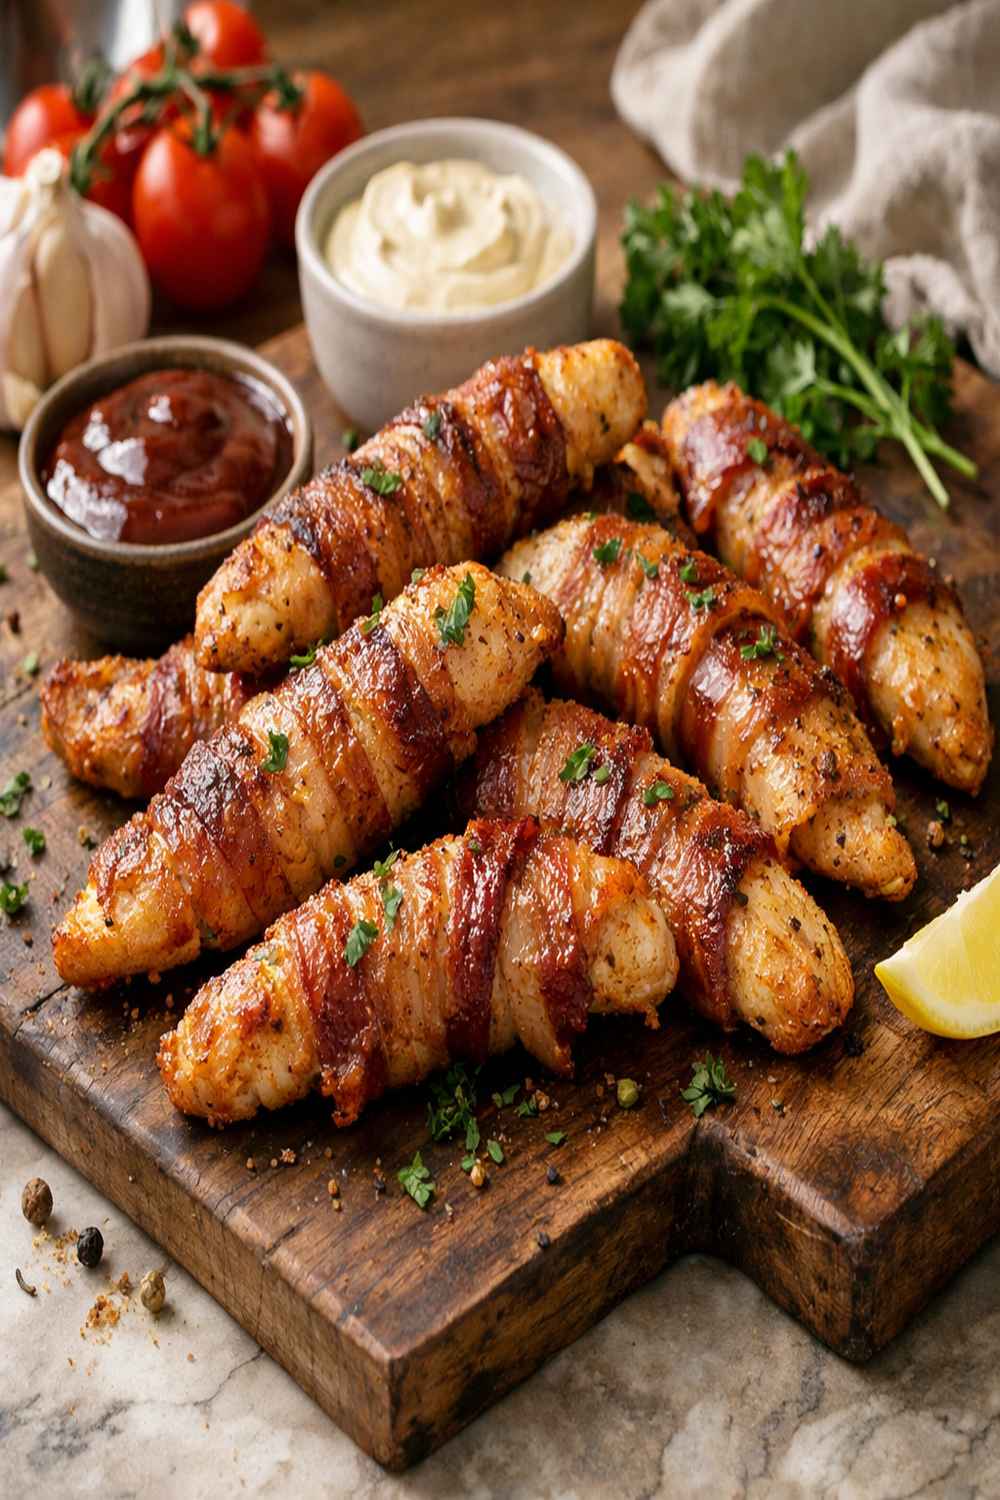

Ingredients
Method
Step 1: Prepare Your Workspace and Oven
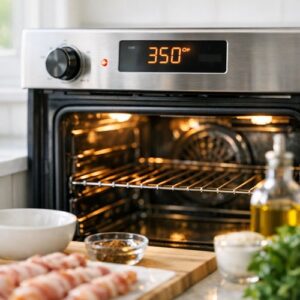
- Start by preheating your oven to 350°F. This temperature is deliberately moderate—it's hot enough to render bacon fat and develop the Maillard reaction on the chicken surface without creating a tough, overcooked exterior. While your oven reaches temperature, arrange your work surface with all ingredients visible. Pat your chicken tenders completely dry with paper towels. This step is critical because moisture on the surface inhibits browning; water molecules must evaporate before the temperature can rise high enough for the Maillard reaction to begin.
Step 2: Create Your Dry Spice Blend
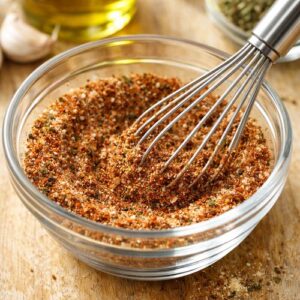
- In a small bowl, combine your salt, paprika, black pepper, onion powder, Italian seasoning, and garlic powder. Whisk together thoroughly for about 30 seconds—this ensures even distribution when you apply it to the chicken. The goal is no visible clumps of any single spice. Why does this matter? Uneven seasoning creates pockets of intense flavor surrounded by bland spots. Professional cooks understand that seasoning should be invisible to the eye but obvious to the palate.
Step 3: Season Your Chicken Generously
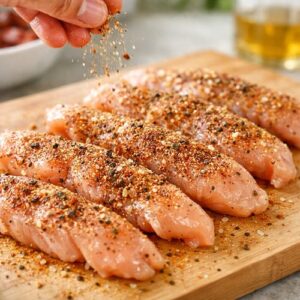
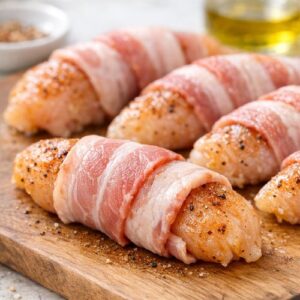
- Place your dried chicken tenders on a clean cutting board. Here's where most home cooks hesitate, and I want to encourage you to be bold: sprinkle your spice blend over the top surface of each tender, then flip and repeat on the bottom. Don't sprinkle timidly—use the full amount, pressing gently so the spices adhere to the protein. The salt in your blend causes surface proteins to denature slightly, creating a "glue" that holds spices in place even as the chicken cooks and contracts.
Step 4: Wrap With Bacon Strategically
- Take one half-strip of bacon and wrap it around the spiced chicken tender, tucking the end underneath so it stays secure. The bacon should spiral slightly, not sit flat—this creates more surface area contact with your chicken, which means more fat-based heat transfer and more of that rendered bacon fat basting the meat as it cooks. Each tender gets wrapped with one half-strip (meaning you're using two half-lengths total per tender, which is exactly 10 half-strips for 10 tenders). The bacon's salt content means your chicken is protected from drying while the fat keeps everything moist.
Step 5: Prepare and Apply Your Glaze
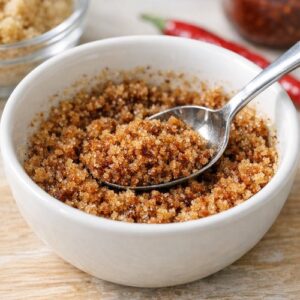
- In another small bowl, combine your light brown sugar and chili powder. Mix thoroughly until the sugar has absorbed any clumping from the chili powder—brown sugar's molasses content makes it slightly hygroscopic, meaning it attracts moisture from the spices and creates a more cohesive glaze. Now, generously coat each bacon-wrapped tender with this mixture on both sides. Here's the professional secret: press the sugar mixture gently into the bacon using your fingertips. This isn't just decorative—you're forcing the sugar into the crevices of the bacon, where it will caramelize and create flavor complexity far beyond surface sweetness.
Step 6: Arrange on Pan and Bake
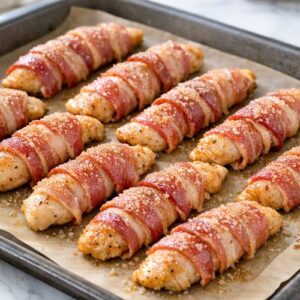
- Line a grill pan or rimmed baking sheet with parchment paper or lightly oil it. Arrange your bacon-wrapped, sugar-coated chicken strips on the pan with about ½ inch between each piece. This spacing allows air to circulate and bacon to crisp rather than steam. Place in your preheated 350°F oven for 25 to 30 minutes. The internal temperature of your chicken should reach 165°F when measured at the thickest point with an instant-read thermometer—this is the USDA-established food safety standard. At the 25-minute mark, check your bacon's crispness. If it's still quite soft, you have options: continue baking for another 2-3 minutes, or switch your oven to broil for the final 2-3 minutes to develop extra crispness. The broil method uses direct, intense heat from above, which accelerates browning without additional time. Watch carefully—broiling can go from perfect to burnt in seconds.
Step 7: Rest and Serve
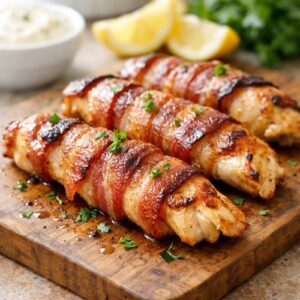
- Remove from the oven and let rest for 3-5 minutes. This resting period allows carryover cooking to finish the interior while the exterior sets, and it gives the proteins time to reabsorb some of their internal juices. Serve piping hot, garnished with fresh minced parsley if desired. The parsley's chlorophyll and fresh aromatics cut through the richness beautifully and add visual appeal.
Notes
- Pat your chicken completely dry before seasoning - moisture on the surface prevents Maillard browning and causes steam instead of sear. I use paper towels and sometimes let the tenders sit uncovered in the refrigerator for 15 minutes after patting to allow surface moisture to evaporate completely
- Use room-temperature chicken when possible - cold chicken takes longer to cook, which means the exterior can overcook while the center is still undercooked. Remove from refrigeration 15 minutes before cooking
- Invest in an instant-read thermometer - I cannot overstate how this changes your cooking confidence. Chicken breast dries out quickly above 165°F, but stays juicy at exactly 165°F. A $15 thermometer eliminates guessing
- Press your glaze mixture into the bacon manually - don't just sprinkle. Your fingertips compress the sugar into the bacon's texture, creating more caramelization during cooking
- Line your pan with parchment paper - cleanup is easier, and parchment prevents sticking without requiring added oil that would affect browning