Ingredients
Method
Step 1: Prepare Your Peas the Right Way
- Pour your dried black eyed peas into a colander and rinse them thoroughly under cool running water. As the water flows through, look carefully—you're hunting for anything that doesn't belong. Occasionally a small stone or dried debris hides in the bag. Your teeth will thank you for taking this minute. Once the water runs clear, transfer your rinsed peas to a large bowl and cover them completely with fresh, cool water (about 2 inches of water above the peas). Cover the bowl loosely with a kitchen towel and let them sit at room temperature for at least six hours, though overnight is ideal. This isn't laziness; this is science working in your favor.
Step 2: Drain and Set Aside
- After soaking, drain your peas in the colander again and rinse one final time. The soaking liquid contains some of those compounds we wanted to break down, so we discard it. Your peas are now primed for cooking—they've absorbed moisture uniformly and are ready to cook evenly. Set them in a bowl nearby; you'll need them in just a moment.
Step 3: Cook the Bacon Until Crispy
- Place a large skillet over medium heat and add your chopped bacon pieces. Let them cook slowly, stirring occasionally, until they're golden and crispy—not floppy, not burnt, just perfectly rendered. This takes about 8 to 10 minutes depending on your stove. The bacon should give up its fat, and you should hear gentle crackling. Once it's crispy, transfer the bacon to a paper towel–lined plate to drain and cool slightly. Don't discard that precious bacon fat in the pan—that's liquid gold.
Step 4: Build Your Flavor Base With Onions and Garlic
- Leave about 1 to 2 tablespoons of bacon fat in your skillet (drain the excess if there's more than that; you want flavor, not grease). With the heat still at medium, add your diced onions to the warm fat. This is the moment magic begins. Stir them occasionally for about 5 to 7 minutes, letting them soften and turn translucent. You're not rushing this; you're allowing the bacon fat to coax sweetness from the onions. Once they're soft and glossy, add your minced garlic and cook for just another minute or so until fragrant—you'll smell it clearly, and that's your signal. Don't let garlic cook longer than a minute or it turns bitter.
Step 5: Combine Everything in Your Cooking Pot
- Transfer your drained peas to a large pot (not the skillet). Pour in your 4 cups of low-sodium chicken broth. Using a wooden spoon, scrape the bottom of your skillet where those onions and garlic bits cling—that's called deglazing, and it captures every molecule of flavor. Add the onions, garlic, and all those browned bits to the pot with the peas and broth. Drop in your bay leaf and sprinkle in your red pepper flakes (start with ¼ teaspoon if you're heat-sensitive). Stir gently to combine.
Step 6: Bring to a Boil, Then Reduce Heat
- Place your pot over medium-high heat and bring the broth to a rolling boil. You'll see it bubble vigorously, and the peas will start to bob at the surface. Once it reaches a true boil, reduce your heat to medium-low immediately. This is where patience becomes your greatest tool. You want a gentle simmer—tiny bubbles that occasionally break the surface, not an aggressive rolling boil. An aggressive boil breaks down peas and clouds your broth. A gentle simmer keeps everything intact while coaxing out creaminess.
Step 7: Simmer Until Peas Reach Perfect Tenderness
- Let your peas cook gently for 20 to 30 minutes. Start checking them around the 18-minute mark by fishing out a single pea with a spoon and tasting it. The pea should be tender enough to bite through without resistance, but still hold its shape—not mushy, not hard. As they cook, you may notice the broth becoming slightly creamy; that's starch released from the peas creating natural body. This is beautiful. If your broth looks thin, that's fine too; it will deepen in flavor as it cools slightly.
Step 8: Season With Intention
- Once your peas have reached the exact tenderness you want, taste the broth carefully. Add your smoked salt and black pepper a pinch at a time, tasting after each addition. Remember: you can always add more salt, but you cannot remove it. If you used ¼ teaspoon of red pepper flakes and want more heat, now is the time to add the additional ¼ teaspoon. Stir in your crispy bacon pieces (or save them as a garnish if you want them to stay especially crispy on top). Add a splash of hot sauce if you'd like that final layer of complexity.
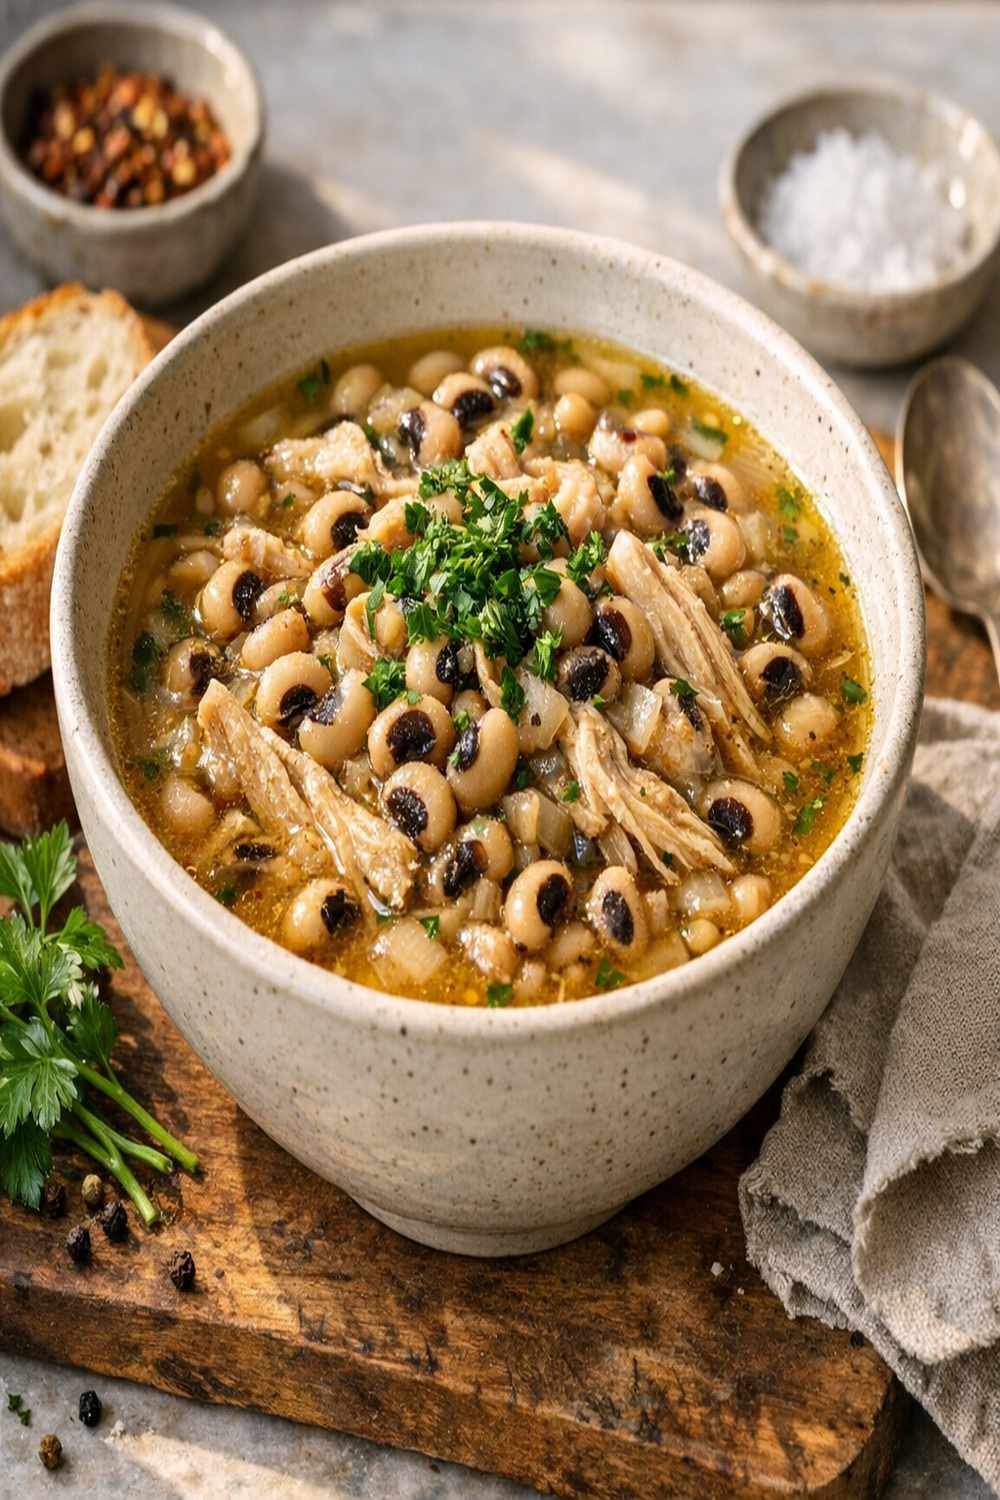
Step 9: Rest and Serve
- Let your finished pot sit off heat for 5 minutes. This resting period allows flavors to marry and settle. Ladle into bowls, top with fresh chopped parsley, and serve hot. If you reserved crispy bacon as a garnish, sprinkle it on top right before serving so it stays textured and crispy rather than absorbing broth.