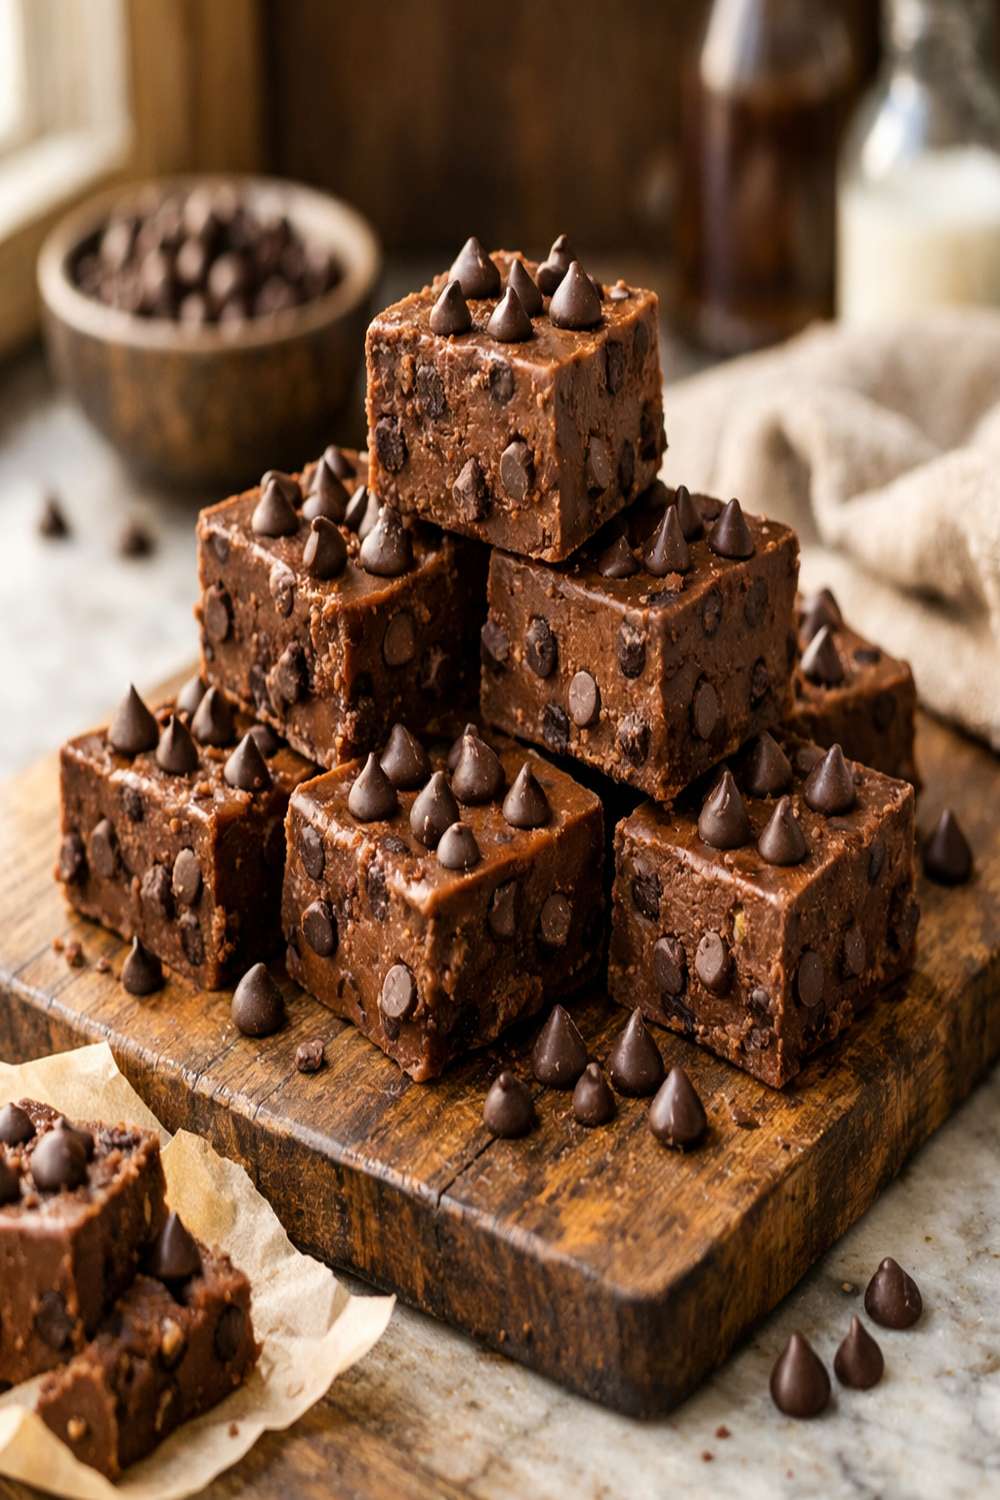

Ingredients
Method
Step 1: Prepare Your Pan With Lining
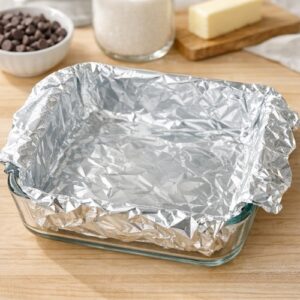
- Start by taking your 8x8-inch baking dish and lining it with either aluminum foil or parchment paper. Here's the easiest method: tear off a piece of foil about 16 inches long, place it in the pan so it covers the bottom and sides, and let the excess hang over the edges. Then tear another piece, rotate it 90 degrees, and create an "X" pattern. This gives you handles to lift the finished fudge out without any sticking. Alternatively, parchment paper works identically—just overlap two pieces in the same X pattern. The reason we do this is simple: it makes removing your finished fudge from the pan effortless, and cleanup becomes nearly non-existent. If you absolutely prefer not to line your pan, simply butter it lightly instead.
Step 2: Combine Your Chocolate and Sweetened Condensed Milk
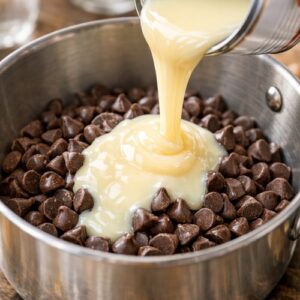
- Pour your three cups of chocolate chips into your medium saucepan. Then add your 14-ounce can of sweetened condensed milk directly to the same pan. Don't worry about measuring the condensed milk into a separate container—just pour it right in. You want everything in one place so it all melts together evenly. At this point, your mixture will look dry and separated. The chocolate chips will look like they're just sitting on top of the condensed milk. This is completely normal and exactly what you want to see. Don't panic—the magic happens when heat is applied.
Step 3: Heat on Medium-Low and Begin Stirring
- Place your saucepan over medium-low heat. This is important: do not use high heat. High heat can cause the chocolate to scorch or the mixture to separate. Medium-low gives you time to watch and adjust, which is what we want for a foolproof result. Begin stirring gently and continuously with your wooden spoon or silicone spatula. You're looking for the chocolate to slowly begin softening and mixing with the condensed milk. At first, you'll see chocolate chips gradually losing their shape and beginning to meld with the white sweetened condensed milk, creating a tan-colored mixture. Keep stirring every 15-20 seconds. You don't need to stir constantly—you need to stir frequently enough that nothing has a chance to stick to the bottom or scorch. This should take about 3-4 minutes total.
Step 4: Watch for the Glossy Stage and Add Vanilla
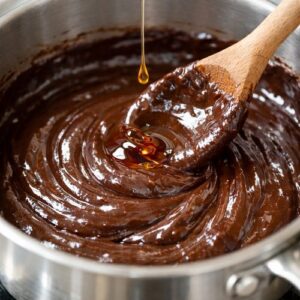
- After about 3-4 minutes, you'll notice a beautiful transformation. The mixture will become increasingly smooth, and here's the key sign: it will start to look shiny and glossy. This is your cue that the chocolate is almost completely melted. Some tiny flecks of chocolate might still be visible, and that's perfectly okay. Once you see that glossy appearance beginning, remove the pan from heat temporarily and add your teaspoon of pure vanilla extract. Stir it in thoroughly—you'll notice the aroma becomes absolutely divine at this point. If you're using that optional ¼ teaspoon of sea salt, add it now too. Return the pan to the stove for just another 30 seconds, stirring gently to ensure everything is completely smooth and the vanilla is fully incorporated.
Step 5: Pour Into Your Prepared Pan
- Remove your pan from heat and carefully pour the fudge mixture into your prepared baking dish. Don't worry if it seems very thick—it should be. This thick consistency is what creates that perfect fudgy texture. If you're concerned it won't pour easily, let it cool for about one minute (not longer), and it will become slightly more pourable while still being thick. Once all the mixture is in the pan, you have two options: you can gently shake the pan back and forth to help the fudge settle and level out, or you can use a rubber spatula to gently spread it into an even layer. Don't overly manipulate it—you just want it reasonably level so all your finished pieces are roughly the same thickness.
Step 6: Let It Set at Room Temperature
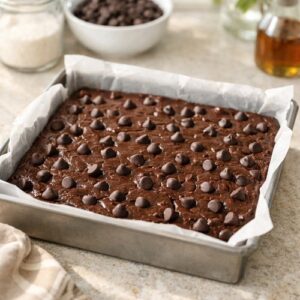
- This is the hardest part: patience. Leave your fudge on the countertop at room temperature and allow it to set for approximately four hours. You don't need to refrigerate it (though you can if your kitchen is very warm). Room temperature setting creates the best texture—firm but still slightly creamy when you bite into it. After four hours, the fudge will be completely firm and set. You can test it by pressing gently with your finger—it should feel solid, not soft or oily.
Step 7: Remove and Cut Into Pieces
- Once fully set, use your foil or parchment handles to lift the fudge out of the pan. Lay it on a cutting board and carefully peel away the foil or parchment paper. You might notice slightly rounded or uneven edges where the fudge met the pan edges—trim these off with your sharp knife and discard them (or eat them as a quality-control bite). Now cut your fudge into pieces. For uniform squares, cut the slab in half one direction, creating two rectangles. Then cut perpendicular, creating four equal squares. Take each square and cut it into thirds one way, then thirds the other way, giving you nine equal pieces per square. This yields 36 pieces total. Pro tip: If your knife is sticking to the fudge, wipe it clean and dip it in hot water between cuts. This keeps the blade warm and prevents sticking, giving you clean, pretty pieces.
Notes
- 14 ounces sweetened condensed milk (look for this in the baking aisle, usually near the evaporated milk; it comes in a white or yellow can and is essential for creating that signature fudgy texture without grittiness)
- ¼ teaspoon fine sea salt (optional but recommended; it enhances the chocolate flavor and creates a beautifully balanced sweet-salty profile)
- 1 teaspoon pure vanilla extract (not imitation; real vanilla makes a noticeable difference in the final flavor, though imitation works in a pinch)
- 3 cups semi-sweet or milk chocolate chips (18.6 ounces total; semi-sweet creates a deeper chocolate flavor while milk chocolate is milder and sweeter—pick based on what you love)