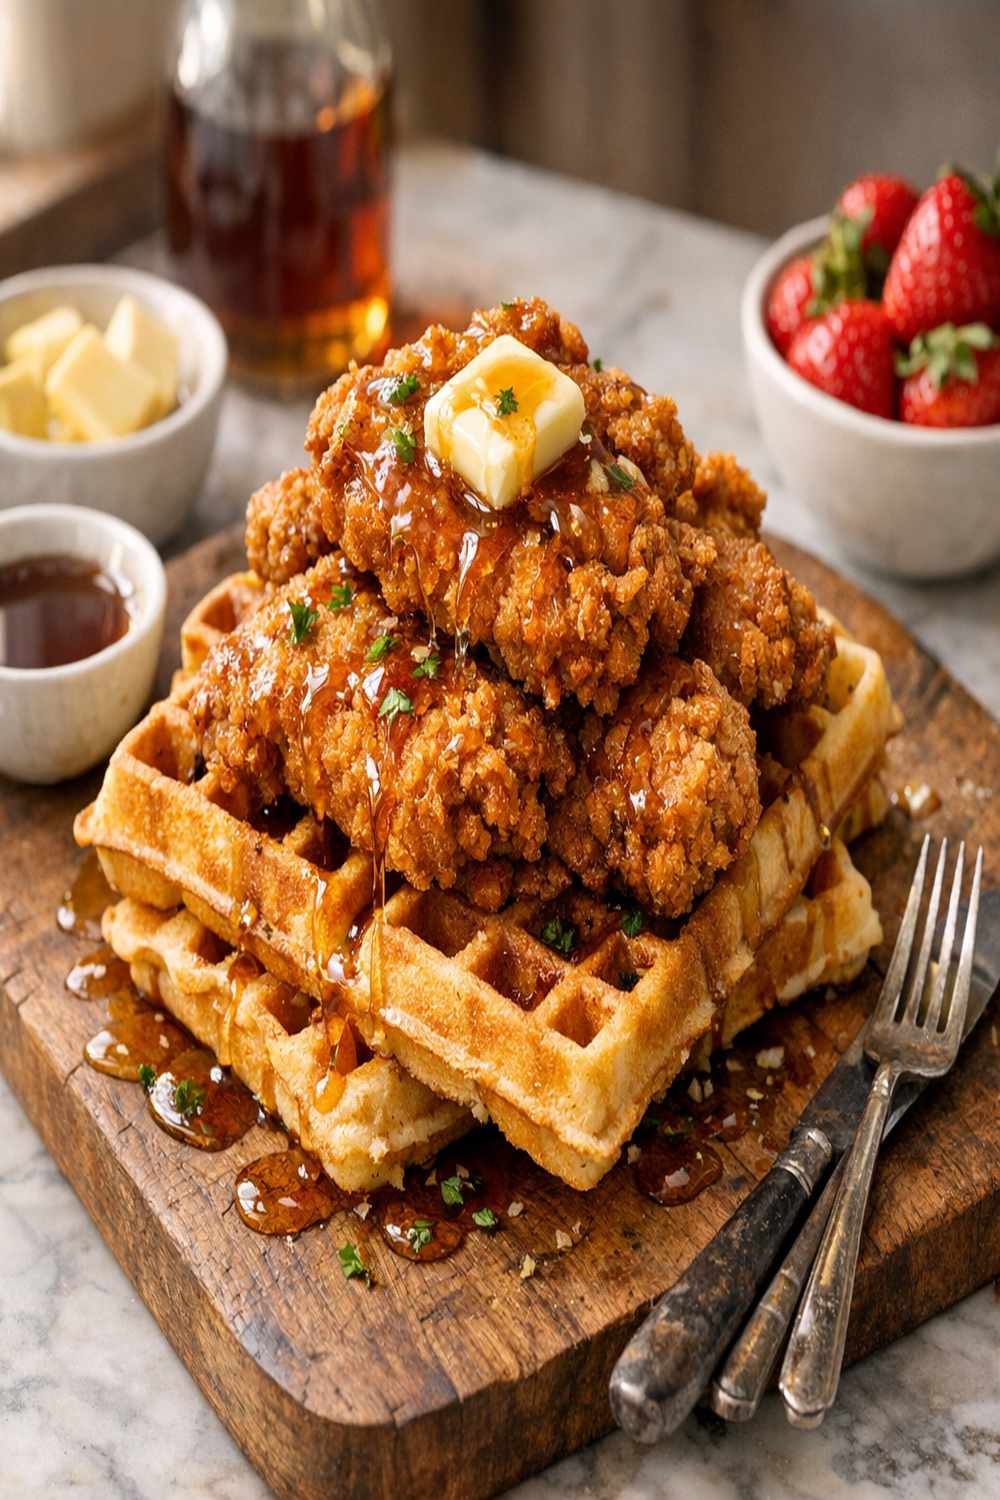

Ingredients
Method
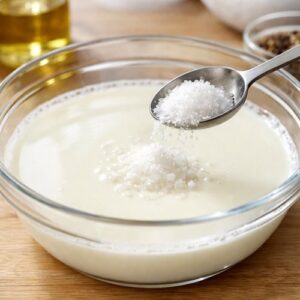
Step 1: Create Your Flavor-Packed Marinade
- Pour your 1 cup of buttermilk into a shallow bowl or storage container large enough to hold all your chicken pieces. Add 1 teaspoon of kosher salt, 1 teaspoon of garlic powder, ¾ teaspoon of onion powder, ¾ teaspoon of ground white pepper, and ¾ teaspoon of smoked paprika. Stir this together until the spices are evenly distributed—you want no clumps or streaks of unmixed seasoning. This is crucial because every piece of chicken needs to encounter that balanced flavor profile. This is where I recommend making ahead saves your morning. You can prepare this marinade the night before and store it covered in your refrigerator. When you're ready to marinate, the flavors are already blooming and waiting for your chicken.
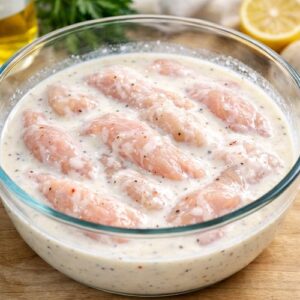
Step 2: Marinate Your Chicken for Maximum Tenderness
- Add your chicken tenderloins to the buttermilk mixture, making sure each piece is submerged and coated. If you're marinating ahead (which I strongly recommend), cover and refrigerate for at least 4 hours, but ideally overnight. The buttermilk's natural acidity works its magic, breaking down proteins and creating an incredibly tender interior while the spices penetrate the meat. If you're on a tighter timeline, 30 minutes of marinating will work in a pinch, but longer is always better. Think of this step as giving yourself a gift—the more time the chicken spends in that buttermilk bath, the more forgiving it becomes during frying and the more flavorful it tastes.
Step 3: Set Up Your Breading Station
- While your chicken marinates (or while you're preparing to fry), combine your 1 cup of all-purpose flour with the remaining 1 teaspoon of kosher salt, 1 teaspoon of garlic powder, ¾ teaspoon of onion powder, ¾ teaspoon of white pepper, ¾ teaspoon of smoked paprika, and ½ teaspoon of cayenne pepper if you're using it. Mix this thoroughly with a fork, breaking up any spice clumps so the coating is absolutely even. Pour this flour mixture into a shallow bowl or plate. This is your breading station, and having everything ready before you start frying makes the actual cooking moment smooth and stress-free. Trust me—you don't want to be measuring flour while oil is heating.
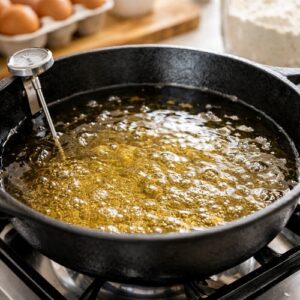
Step 4: Heat Your Oil to the Perfect Temperature
- Pour your 3 cups of vegetable oil into a heavy-bottomed skillet or Dutch oven. You want the oil about ½ to ¾ inches deep. Heat it over medium-high heat until it reaches 350°F on an instant-read thermometer. This temperature is critical—too cool and your chicken absorbs oil and becomes greasy; too hot and the coating burns before the inside cooks through. I always test the oil temperature with a thermometer rather than guessing. It takes 30 seconds and guarantees success. If you don't have a thermometer, the old-fashioned test is to drop a tiny piece of bread into the oil—if it sizzles immediately and turns golden in about 60 seconds, you're in the right temperature zone. Pro tip: while your oil heats, start your waffle maker and get it warming up. You want those waffles hot and ready to receive the chicken.
Step 5: Bread and Fry Your Chicken to Golden Perfection
- Working with 2-3 pieces at a time (don't overcrowd—this drops your oil temperature and creates steaming instead of frying), remove chicken from the buttermilk marinade. Let excess buttermilk drip off for just a second, then immediately dredge each piece in your seasoned flour, coating all sides generously. Press the flour gently into the chicken so it adheres well, creating that beautiful crust. Carefully place your breaded chicken into the hot oil. You'll hear a satisfying sizzle—that's exactly what you want. Don't move the pieces around; let them sit undisturbed for 3-4 minutes while the bottom side develops that gorgeous golden-brown crust. Then flip and cook another 2-3 minutes until the second side is equally golden and the internal temperature reaches 165°F. Remove each piece to a paper towel-lined plate. The residual heat continues cooking slightly, and the paper towels wick away excess oil. This is where your chicken becomes that restaurant-quality crispy-outside, juicy-inside masterpiece.
Step 6: Finish Your Waffles and Create the Magic
- While your chicken rests, make sure your waffles are golden, crispy on the outside, and fluffy within. Have real maple syrup warming gently and softened butter standing by. Each component should be hot or warm when they come together on the plate—temperature contrast is part of what makes this dish so satisfying.