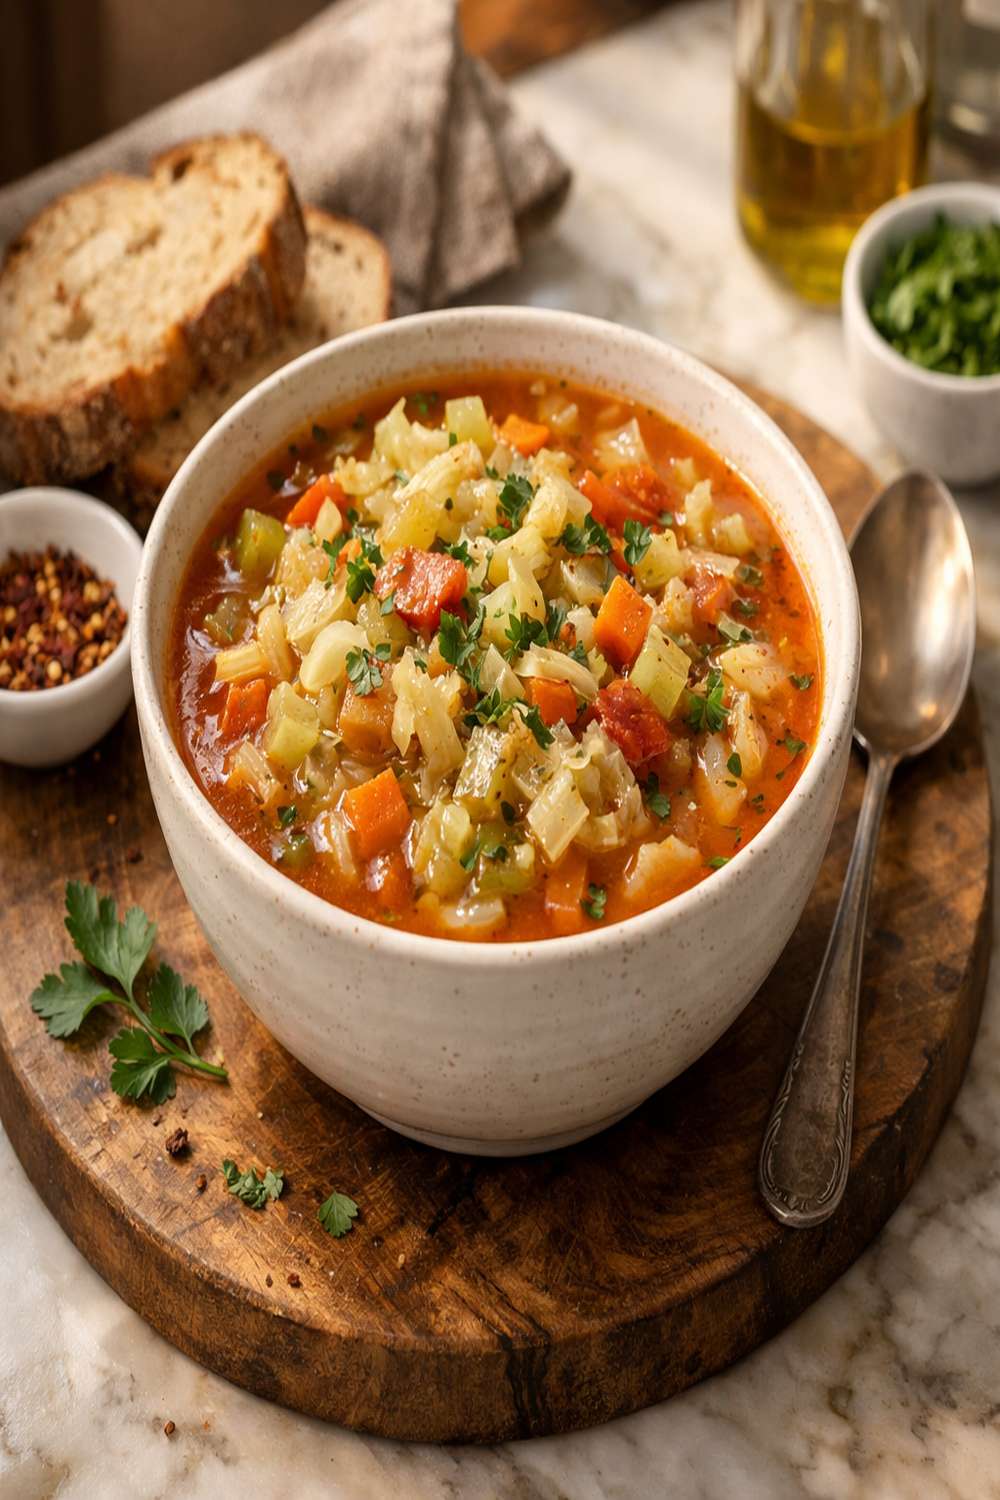

Ingredients
Method
Step 1: Build Your Aromatic Base with Oil and Vegetables
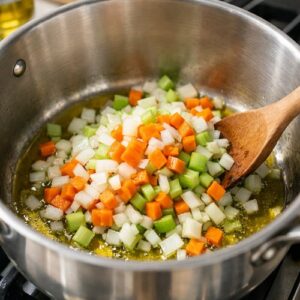
- Pour your three tablespoons of olive oil into a large pot and warm it over medium heat. Once shimmering, add your diced onions, carrots, celery, and bell pepper. Here's what's important: don't rush this step. Let these vegetables cook for about 5-7 minutes, stirring occasionally, until they soften just slightly and begin to release their natural sugars. You're not looking for caramelization here—just the beginning of tenderness. This is aromatics 101, and it's the foundation of everything that follows. The vegetables should smell noticeably sweeter and more fragrant than when you started.
Step 2: Add Garlic and Let It Bloom
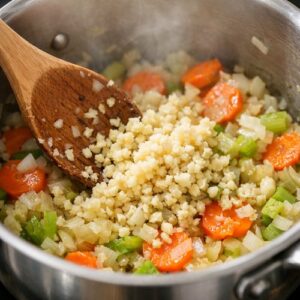
- Once your base vegetables have softened, add your minced garlic and stir constantly for about 90 seconds. You'll smell a dramatic shift—that's the garlic's volatile compounds activating. Watch carefully here; garlic can burn quickly over medium heat. Once it's fragrant but before it colors, you're ready for the next step. This brief cooking time mellows the raw garlic bite while keeping its characteristic flavor. It's a small move that makes a big difference.
Step 3: Add Broth and Bring to a Simmer
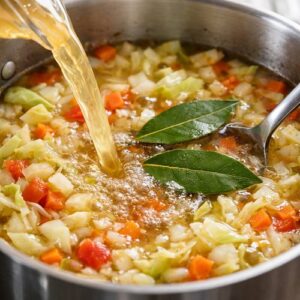
- Pour in your six cups of chicken broth and add the bay leaves. Stir everything together and bring the liquid to a gentle boil—you'll see small, active bubbles breaking the surface. This usually takes about 5 minutes from a cold start. Don't skip the boil step; it helps to marry flavors and establish the cooking environment properly.
Step 4: Introduce the Cabbage and Tomatoes
- Once your broth is at a boil, add your chopped cabbage and the entire can of diced tomatoes with their juices. The cabbage volume will look enormous at first—don't panic. It will cook down significantly as it releases moisture and becomes tender. Stir well, making sure the cabbage is submerged as much as possible. The broth will temporarily cool down; that's normal.
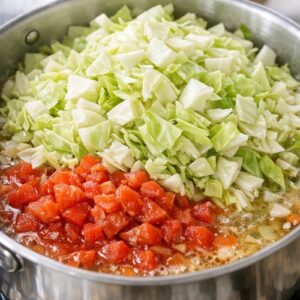
Step 5: Reduce Heat and Simmer Until Tender
- Bring the soup back to a boil, then reduce heat to medium-low and simmer gently for 20-25 minutes. The cabbage should become truly tender but not falling apart completely. You want to be able to pierce it easily with a fork, and it should taste sweet rather than raw or sulfurous. If you prefer your vegetables softer, cook for an additional 5 minutes. This simmering time is when the flavors actually integrate, so resist the urge to rush. A gently rolling simmer (not a hard boil) gives you the best texture.
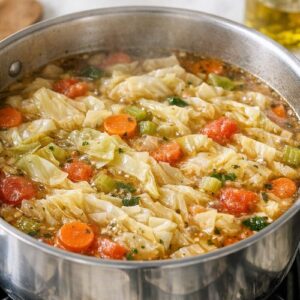
Step 6: Season and Taste Carefully
- Once the cabbage is tender, add your oregano, basil, red pepper flakes, and black pepper. Stir well and let it cook for another minute so the dried herbs rehydrate and distribute evenly. Now comes the critical part: taste your soup. Your broth already contains sodium, so often you don't need additional salt. If it needs it, add just ¼ teaspoon first and taste again. Adjust the red pepper flakes if you want more heat. If you're using fresh basil (which I recommend if you have it), add it now and let it wilt for just 30 seconds before serving. A squeeze of fresh lemon juice is my secret finishing touch—it brightens everything without adding calories.
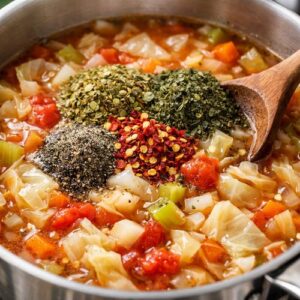
Step 7: Remove Bay Leaves and Serve
- Fish out those bay leaves before serving. Ladle into bowls and serve warm. This makes about 8-10 servings, depending on bowl size. Each serving contains roughly 120-150 calories, with about 4 grams of fiber and excellent micronutrient content—exactly what you want from a satisfying, truly healthy meal.

Notes
- Overcooking the Cabbage Until It's Mushy - Cabbage releases sulfurous compounds when overcooked, which creates an unpleasant smell and mushy, unappetizing texture. Aim for 20-25 minutes of simmering until it's tender but still holds its shape slightly. The soup will taste completely different—fresh and slightly sweet rather than bitter and soft.
- Skipping the Initial Vegetable Sauté - I've had people want to throw everything into cold broth and simmer it all together to save time. This creates flat, one-dimensional flavor. Those initial 5-7 minutes of sautéing the aromatic vegetables in oil are non-negotiable for real depth. They're also what distinguish homemade soup from canned soup.
- Using Vegetable Water Instead of Real Broth - If you make this with water and just salt, it's watered-down vegetable juice, not soup. A quality broth (homemade, store-bought, or even a broth concentrate) provides body and flavor that matters tremendously. This is worth the small investment.
- Adding Salt Before Tasting - Because broth is already salted, many people end up with overly salty soup by adding salt at the beginning. Taste at the end, adjust minimally, and remember that food tastes less salty when warm than when cooled. It's better to under-salt initially and add more if needed.