Ingredients
Method
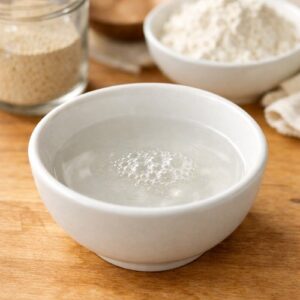
Step 1: Activate Your Yeast
- Pour your 3 tablespoons of warm water into a small bowl. You're looking for water that's warm to the touch but not hot—about 110-115 degrees Fahrenheit. Too hot and you'll kill the yeast; too cool and it won't activate properly. Sprinkle 4½ teaspoons of instant yeast (or one packet plus ½ teaspoon) over the warm water. Let it sit for about 30 seconds, then stir gently with a fork until you have a smooth paste with no lumps. This step takes maybe one minute. You're looking for a consistency like thick pancake batter.
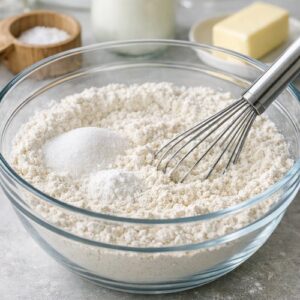
Step 2: Combine Your Dry Ingredients
- In a large mixing bowl—I use a 4-quart bowl to give myself plenty of room—whisk together your 5 cups all-purpose flour, ¼ cup sugar, 2 teaspoons baking powder, 1 teaspoon baking soda, and ¾ teaspoon salt. Whisk for about 20-30 seconds to distribute the leavening agents evenly. This prevents you from getting any pockets of pure baking soda flavor in your finished biscuits. Set this mixture aside for now. You're building your base.
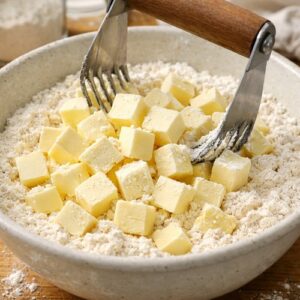
Step 3: Cut in the Butter
- Add your 1 cup cold unsalted butter cubes to the dry mixture. This is crucial: the butter must be cold. Cold butter creates steam pockets as it bakes, which gives you those tender layers. I keep mine in the freezer for 10 minutes before cutting it into cubes. Using your fingertips (yes, your fingers—they're the best tool), press and flatten each butter piece into the flour, working quickly so the butter doesn't warm up. You're aiming for pea-sized pieces throughout. This takes about 3-4 minutes of gentle work. Alternatively, use a pastry blender if you have one, but use your fingers afterward to flatten any larger pieces. Don't worry about making it perfect. Some slightly larger pieces are fine—they create wonderful texture variation in your finished biscuits.
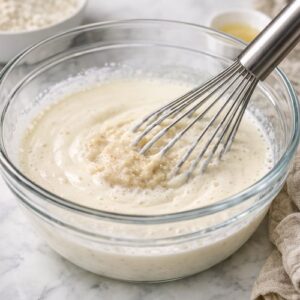
Step 4: Add the Wet Ingredients
- Whisk your 1 cup cold heavy cream and 1 cup cold buttermilk together in a separate bowl. Then, whisk in your yeast paste until fully combined. You'll have a slightly speckled, tan-colored liquid. Pour this mixture into your dry ingredients all at once. Using a silicone spatula (not a wooden spoon—silicone gives you better control), mix gently until you see a shaggy dough forming. You want to incorporate most of the visible dry flour, which takes about 45 seconds to 1 minute. Now use your hands. Gently press the dough together, incorporating any visible lumps. Don't knead it—just bring it together into a rough, slightly sticky mass. This takes about 30 seconds. Overworking develops too much gluten, which makes tough biscuits instead of tender ones.
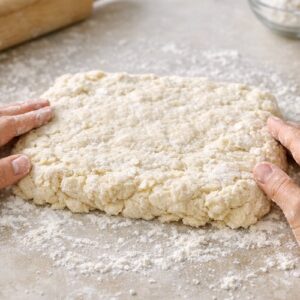
Step 5: The Lamination Technique (Creating Those Layers)
- Dust your work surface lightly with flour. Turn your shaggy dough out onto it. With floured hands, gently pat the dough into a rough rectangle about ¾ inch to 1 inch thick. Don't worry about making it perfect—rustic is beautiful here. Now fold the dough in half, bringing the top edge down to meet the bottom edge. Turn the dough 90 degrees clockwise. Pat it back out to ¾ inch thickness. Fold in half again. Turn 90 degrees and repeat one more time—so three folds total. This entire process should take about 2-3 minutes. You're creating layers of butter and dough, just like puff pastry. This is what gives you those gorgeous, crispy exteriors with tender interiors. After your third fold, your dough should be noticeably smoother and more cohesive.
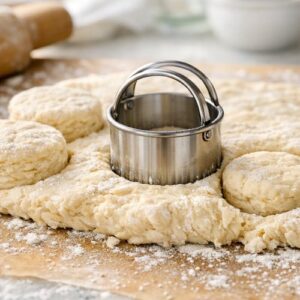
Step 6: Cut Your Biscuits
- Pat your folded dough out one final time to about ¾ inch thickness. Using a 2-inch biscuit cutter (or a drinking glass in a pinch), cut straight down—don't twist, as twisting seals the edges and prevents rising. You should get 14-16 biscuits depending on how close together you cut them. Gather any scraps, gently pat them back into a disk, and cut additional biscuits. You can repeat this once without a noticeable texture change. (Any extra scraps can be baked as irregular "rustic" biscuits—they still taste delicious.)
Step 7: Arrange and Proof Your Biscuits
- Place your cut biscuits into a 12-inch cast-iron skillet, arranging them so they touch each other—not pressed together tightly, but touching. They should fit snugly in one layer. If you have extra biscuits, use a second skillet or baking sheet. There's a reason I recommend cast iron here: it conducts heat beautifully and ensures even browning on the bottoms. If you don't have cast iron, a standard baking sheet works fine—you may just need an extra minute or two of baking time. Cover your skillet loosely with plastic wrap. Place it in a warm, draft-free spot. A turned-off oven with the light on works beautifully, or a kitchen corner away from any air conditioning vents. Let the biscuits proof for one full hour. They should increase noticeably in size—roughly 50% bigger than where they started.
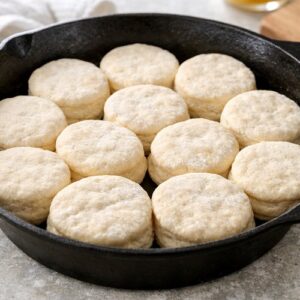
Step 8: Bake Until Golden
- About 10 minutes before you're ready to bake, preheat your oven to 400 degrees Fahrenheit. If you'd like, brush the tops of your proofed biscuits with 2 tablespoons melted butter. This creates a gorgeous golden exterior, though it's entirely optional. Place your skillet in the preheated oven and bake for 16-18 minutes. You're looking for the tops to turn a deep golden brown, and the biscuits should feel firm when you gently touch them. The bottoms should be similarly golden—this is why cast iron is perfect; you can often see the beautiful color right through the pan. If you want extra richness, brush the warm biscuits with an additional tablespoon of melted butter immediately after removing from the oven. A light sprinkle of fleur de sel on top adds a sophisticated, bakery-quality touch.

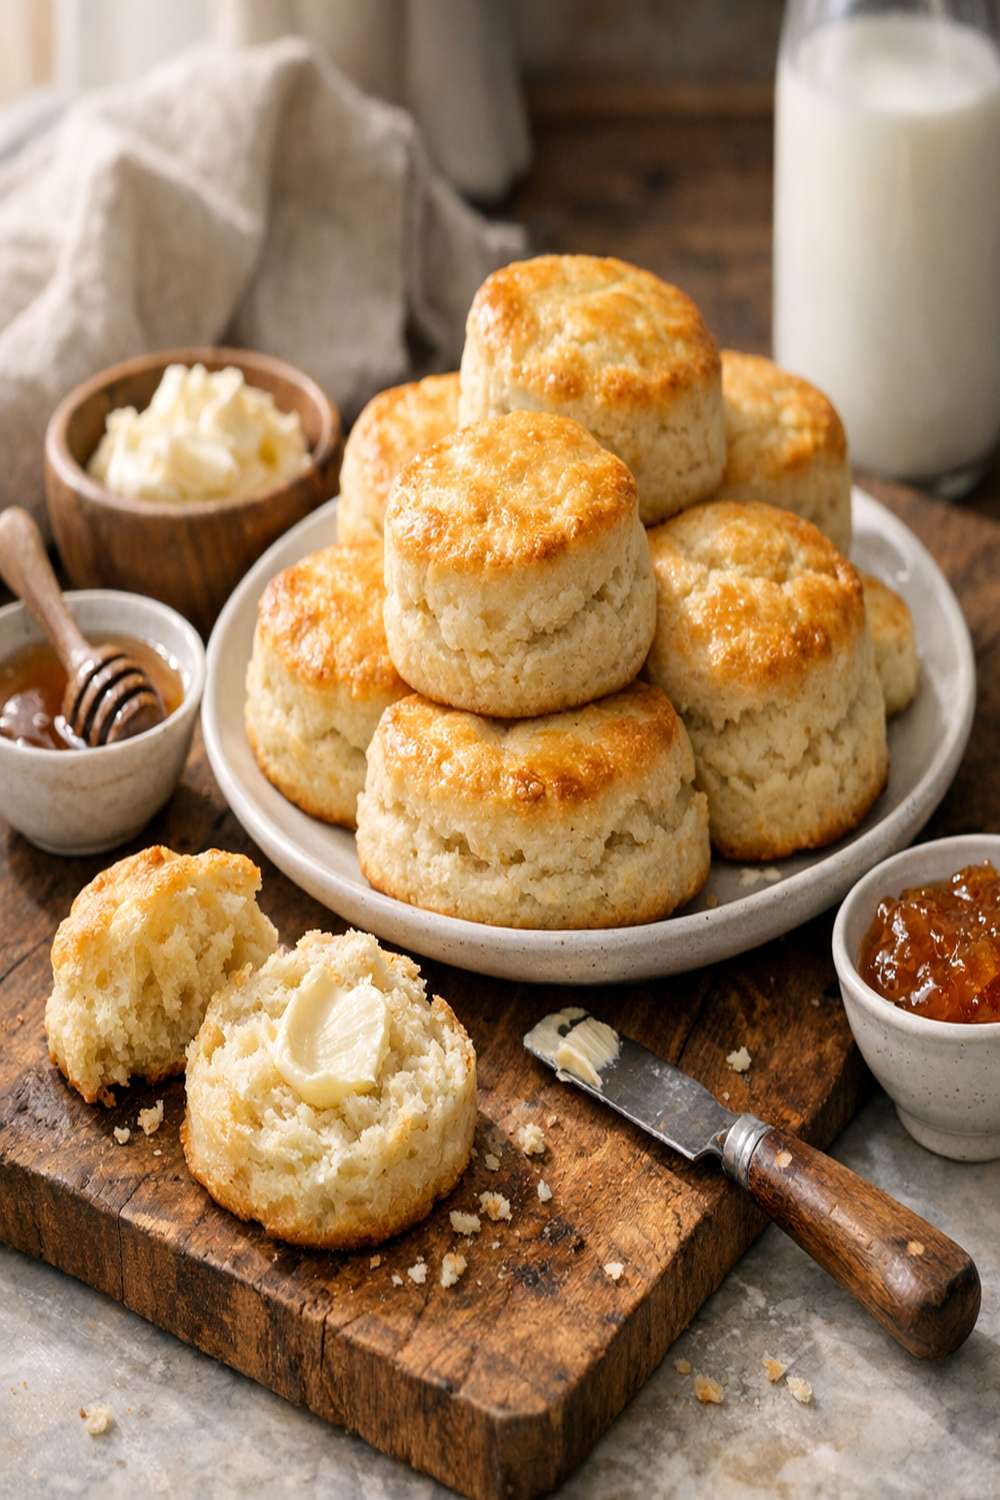
Step 9: Cool Slightly Before Serving
- Let your biscuits cool in the skillet for about 10 minutes. They'll firm up slightly, making them easier to handle. Then transfer to a cooling rack if you have one, or simply enjoy them warm from the skillet. These biscuits are absolutely best served warm, within the first 2-3 hours of baking. That's when the interior is still steamy and the exterior is at its crispiest.

Notes
- Warm water temperature is non-negotiable - I use an instant-read thermometer to check my water. It's the single most important factor for reliable yeast activation. If your water is too hot (above 120 degrees), you'll kill the yeast. Too cool and nothing happens. Aim for 110-115 degrees Fahrenheit.
- Cold ingredients create tender biscuits - Keep your cream, buttermilk, and butter cold right up until mixing. I even chill my mixing bowl for 10 minutes before starting if my kitchen is warm. Cold butter creates steam pockets; cold liquids prevent overdevelopment of gluten.
- Don't skip the folding step - Those three folds are what create the restaurant-quality layers. It only adds 3 minutes but transforms the texture completely.
- Biscuits touching each other during proofing helps them rise upward, not outward - This creates taller, fluffier biscuits. If they're separated, they'll spread sideways instead of up.
- A cast-iron skillet holds heat incredibly evenly - If you don't have one, a well-seasoned cast iron is worth the investment for so many recipes. For this one, it guarantees beautiful browning on the bottom, which is harder to achieve on a standard baking sheet.
- Don't twist when cutting with your biscuit cutter - Twisting seals the cut edges, which prevents the biscuit from rising properly. Cut straight down with a quick, confident motion.